Leaderboard


Popular Content
Showing content with the highest reputation since 03/22/2025 in all areas
-
Hi, PTE AV Studio 11.0.18 Beta is available: Improved smoothness of video playback (in HEVC format) in EXE shows and Safe EXE shows on slow PCs. Reduced CPU loading. Especially for video clips in 4K resolution. Windows only. Download Windows: https://files.wnsoft.com/test/pteavstudio-setup.exe Mac: https://files.wnsoft.com/test/PTE-AV-Studio.dmg Mac users can skip this Beta. (About window shows: 11.0.18 Build 1)2 points
-
Hi, One new user asked me recreate a special style/transition effect. I share it with you. Slide style + demo: Demo - Zoom Out with Fade.mp4 Zoom Out with Fade.ptestyle2 points
-
Robert Keeping things simple is often the best thing we can do, otherwise the fancy presentation can overwhelm the images we want to show. Our creativity can get diverted to parts of the project that are less important.1 point
-
Thank you, Jill! I appreciate your help, Robert1 point
-
Don't put yourself down, it is possible to teach an old dog new tricks! Keyframes are really easy to use once you undertand the principle. You have a start point & an end point. Simply position your Object at the Starting postion on the first Keyframe Right Click on the Keyframe & select Clone Move the Keyframe along the Timeline to where you want the movement to end & then position your object in it's end position. PTE works out the movement in between. So for what you were trying to do in having a small image move off screen. 1st Keyframe, your image is on screen in it's starting postion. 2nd Keyframe move your image to be off screen That is all there is to it. Jill1 point
-
Another perhaps easier way to do this is to start with one image that has your background & all the small images on it. Move just your first image off screen. Copy & Paste this Slide for however many small images you have, for example 20. Make sure that you have a quick transition 0 seconds between each Slide. Then just move 1 small image off on each Slide. You may find this easier to control as you won't have to worry about having lots of KeyFrames on 1 Slide & worrying about the timing of each KeyFrame. Just make sure that you select the correct small image on each. You can delete the small images from the Slide once you have moved them off. So Slide 1 would have 20 small images & you move number 1 off Quick Transition to Slide 2 which has 19 small images & you move number 2 off Quick Transition to Slide 3 which has 18 small images & you move number 3 off Continue until you have moved all the small images revealing your background Hope this helps Jill1 point
-
Make sure that all the small photographs are NOT nested together as in "Parent/Child" arrangement.1 point
-
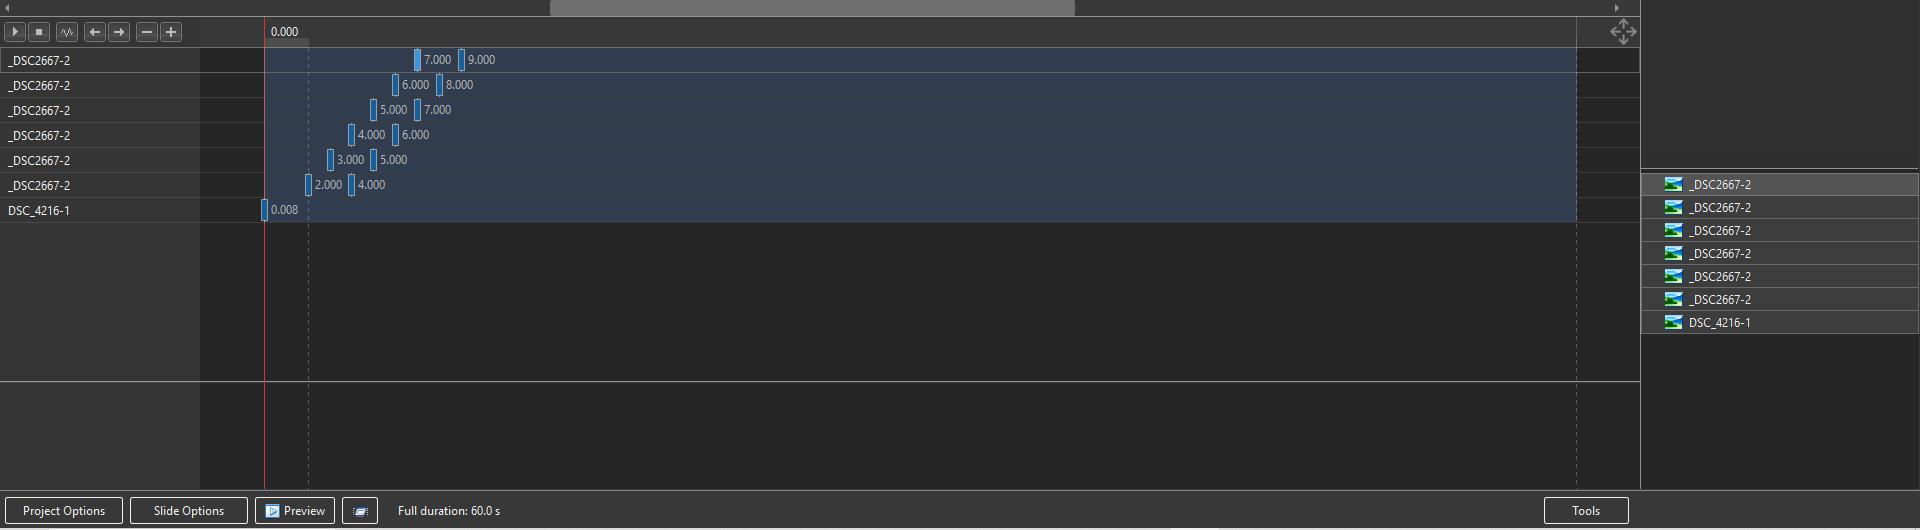
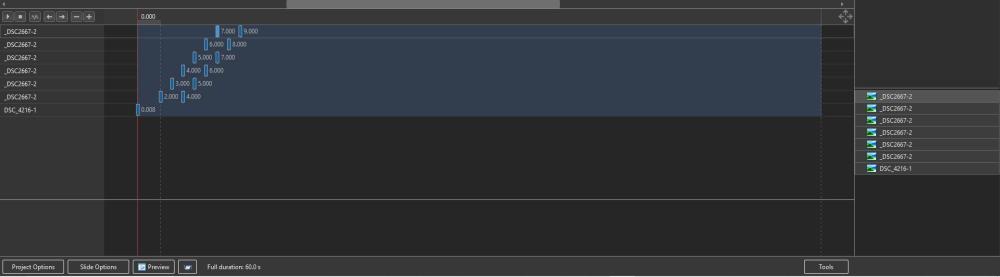
If I understand your requirement correctly, you need to "stagger" your KF along their Timelines. Move the zero KF of the second small photo along its timeline by (for instance) one second and then move its final KF by the same amount. Then move the zero KF of the third small photo along its timeline by two seconds etc Something like this: DG
 1 point
 -
Welcome to this serene moment captured in Ballina, New South Wales, where a graceful White-faced Heron searches for its next meal on the sun-drenched Flat Rock. I was lucky enough to capture this journey on my camera. The images captured on my Sony A7RV camera span over one hour. Watch as this elegant bird moves with purpose, its keen eyes scanning the waters for prey, all while surrounded by the natural beauty of the coastline. Join us as we witness nature in action, right here on the stunning shores of Ballina, NSW Australia.1 point
-
Nice study of the bird1 point
-
I recently purchased a low cost N150 Win 11 Pro mini PC ($150) to replace my old i5 desktop PC that is non-upgradeable to Win 11. I was surprised how well PTE AV Studio 11 performed on the N150. Very low power requirements and no fan noise at 1920x1080 display resolution. If you need 4K display resolution then I would probably buy a more expensive mini PC with DDR5 memory, and a CPU with higher performance iGPU. For most people I don't think you need a full size desktop PC in 2025. https://www.gmktec.com/products/nucbox-g3-plus-enhanced-performance-mini-pc-with-intel-n150-processor Tom1 point
-
Thanks! We'll include transition in future V12.1 point
-
Thanks Igor very nice.1 point
-
Thanks Igor, Nice style1 point
-
Great, Igor I'm guessing this new style will be one of the styles natively included in PTE Studio.1 point
-
Thanks Igor.1 point
-
Nice--thanks!1 point
-
Dave, You rightly suggested Rosemary to copy and replace "Styles and Transitions" folder. Copy this folder from an old PC to a new PC. PTE AV Studio should be closed when you replace this folder. In future version 12 we'll add import & export commands to help with this task. PTE AV Studio will create a single ZIP archive. It also can be used to backup all styles and transitions and recover a broken storage to previous state by importing a previous copy.1 point
-
Thank you again Jill, for your assistance. Also thank you to Jienense for the download. I am away from my desktop computer, so I will try you file tonight. I appreciate both of you taking time to reply and offer solutions. Woolie1 point
-
The program already does this and always has. Used Main images have their file name highlighted in Blue. Much easier to see with the light interface. Jill1 point
-
Hi friends, I want to make a comparison of work in the Proshow Producer and PTE AV programs again. For example, I chose a project that I initially did for Proshow Producer. But I have long wanted to do it for PTE AV, since it demonstrates the wonderful animation capabilities of the program well. This project uses only 3 gifs and no footage at all. (Although in PTE I would have managed without gifs. I was just lazy, since I already had gifs). All animation is done using png images and several sprites. Working with animation in this program is much more convenient and I improved many processes. It is much more convenient that you can link layers without complex manipulations. This is very important in character animation, since there are many separate elements of one character. And each element is animated separately. But all this should be a single whole. Also, various special effects, such as bursting soap bubbles or glittering stars, are conveniently made with sprites. I also really like working with sound in PTE AV. Many sound effects make the video more interesting. In Proshow Producer, I had big problems adding sounds. There is a limit on adding 1 sound per slide. And if more than 1 sound is needed? I had to convert sounds to mp4 and add them as video files, setting their visibility to 0. And there was often a desynchronization with sounds. In PTE AV, I added more sounds than in the original, finally I was able to implement all my ideas! I invite you to watch. Can you guess which of the pictures are gifs? If you are interested in the project, the link for purchase is given under the YouTube video. Aleina.1 point
-
Thank you so much for the review! A sprite is a sequence of images in one picture. In this thread I once explained what it is, you can have a look at it.1 point
-
1 point
-
Hi everybody, Here's a another attempt to deal with all those family pictures.... Here's the Link:https://drive.google.com/file/d/1oeh4F07uGqbmANaEvc1q456h8XXOK-TY/view?usp=sharing1 point
-
I was having difficulty stabilizing a video with Normal and Strong options, but Camera Lock level 5 was able to remove the high frequency movement. Thanks Igor.1 point
-
Défilé dans la rue, à Montauban (France) 20121 point
-
Despite the frost of -25-27 degrees, Muscovites and guests of the capital, together with their children, joyfully celebrate the New Year and Christmas 2024. Joy, Happiness, Health, Success and Love to everyone! Enjoy watching.1 point
-
Hi friends, I'm coming to you with a new book. Christmas and New Year are ahead, my family and I usually watch the Harry Potter series of films at this time. It is these films that we always associate with the Christmas and New Year atmosphere. And I wanted to make a book on this topic. I've added the ability to edit a personal letter from Hogwarts. After all, every Potter fan will be very pleased! Since I had more time (I spent 3 weeks on this project), I created the book from scratch. Revised and improved the concept. The result is already close to the ideal book I dream of. In addition, I always try to make the process of editing a project easier. But due to the large number of layers, sometimes you have to search for photos in the layer tree. This problem is quickly solved using the attached style. But our forum member John Tice told me an even better way to create projects with easy photo replacement. Thank you very much, John! And I want to tell you about this method. Perhaps it will be useful to someone. The method is described in italic text. _________________________ The concept is that 2 additional folders are created in the project folder. One with the name YOUR PHOTOS. We move all the photos of the project into it, renaming them 01.jpg, 02.jpg, etc. Open the program and tell it the new location of the photo. Save. The second folder is called PROJECT PHOTO. Initially it is empty. If you just want to change the photos in the project, but find the ones you need, rename them in order 01.jpg, etc. For safety, transfer the project photos to the PROJECT PHOTO folder, and add your renamed photos to the YOUR PHOTOS folder. Important! In order for this change of photos to work correctly, you need to check the “crop” option on the layer with the photo during the creation of the project. Then the replaced photos will be applied correctly and smoothly, regardless of their size or orientation (portrait or landscape). By doing this we will not violate the intention of the author of the project. That's all. All efforts for the author of the project consist of checking the cropping boxes for the photo, creating 2 folders, renaming the photos and moving them to the desired folder. After the program confirms the new path and file names, the project is ready to work with easy replacement of photos in the folder. In order to edit a project, a person will only need to select photos in jpg format, rename them and replace the original photos of the project with them. For those who ask about the need to create 2 new folders, I will immediately answer that it is simply a matter of convenience. __________________________ So, for those who haven’t read the italic text and are wondering whether it’s easy to change photos in a project, I answer: Easy! You will only need to select photos in jpg format (with the approximate location of the object in the center), rename them 01-14.jpg, and replace them with the original photos of the project in the folder. I plan to remake all my projects for such easy editing, as I highly value ease of use! I wish you happy holidays!1 point
-
1 point