Leaderboard

Popular Content
Showing content with the highest reputation since 07/01/2026 in all areas
-
Hi everybody, The idea of the Slideshow was the illustration one of the new PTE V.12 feature-Blending Modes. This is basically variations of the one Style--Screen Blending Mode. The set of pictures placed in the Stencil Container and the Background Composition-in the Mask Content. There's some whistles and bells here and there also to make it looks more cinematic. To my mind, of course. If you like it--there's The Link. Just replace the files marked "Replace Me" with yours Media. Best Alex558 points
-
15 transitions with camera sound, for this new version of PTE V 12, I hope you like it. Download: https://javier-pteavstudio.blogspot.com/6 points
-
The Online Help for Version 12 has been updated in line with the "What's New in Version 12" posted by Igor: https://docs.pteavstudio.com/en-us/12.0/v12_wn/main Links have been added to each paragraph as appropriate. There is obviously more work to do but the OH is an ongoing and evolving document and if anyone wishes to contribute it will be hugely appreciated by the PTE community. "How to" articles are largely driven by Forum Posts for which there is no obvious answer in the OH and these will continue to be added when they arise. DG6 points
-
Hi, Release Candidate 1 for PTE AV Studio 12 is available today, and the final version is scheduled for release within a week. P.S. Today marks exactly 27 years since the release of version 1.0 on July 2nd, 1999.6 points
-
Igor has asked me to post a link to my new AV sequence. The background is that my AV Group had a challenge to produce a new sequence using some form of AI, either images, video or audio. I decided to make one about Yuri Gagarin's pioneering space flight in 1961. Very few images exist of this, so the use of AI was a good option to re-imagine the story. See what you think:5 points
-
Hello everyone! My vacation season is almost here, and I've already dipped my toes in the water... Good vacation !!! https://javier-pteavstudio.blogspot.com/4 points
-
Hi, We're glad to introduce a new PTE AV Studio 12 - a powerful software for photo slideshows and AV shows. What's New in version 12 The new version includes many improvements, new effects and creative possibilities: - Blending Modes (Multiply, Screen, Overlay, and more) - Video Speed Control and Slow-Motion with frame interpolation - Sound Object and built-in Sound Library - Export Vertical and Square Video for YouTube Shorts and other social media - New AV1 Video Encoder - HEIC Image Support for iPhone photos on Windows - Improved Chroma Key for Video Clips - New Dynamic Gradient Map effect in the Mask container - Quick Search in styles and transitions. New built-in slide styles and transitions And more. Read a full list of new features: https://wnsoft.com/pte-av-studio/whats-new-12/ Download for Windows and Mac: https://www.wnsoft.com/pte-av-studio/download/ Prices and Editions There are two versions: - PTE AV Studio 12 Pro - 145 EUR (VAT is included) - PTE AV Studio 12 - 74 EUR (VAT is included) Buy full version: https://www.wnsoft.com/pte-av-studio/buy/ Upgrades Upgrade from PTE AV Studio 10 or 11 Pro to PTE AV Studio 12 Pro - 48 EUR (incl. VAT) Upgrade from PTE AV Studio 10 or 11 to PTE AV Studio 12 - 35 EUR (incl. VAT) I hope that you will enjoy using the new PTE AV Studio 12! Thank you very much for your support and help with Beta testing! P.S. You can still find the Beta discussion here4 points
-
voici mon premier diaporama avec le logiciel PTE 11 "Here is my first slideshow using PTE 11 software." (Google Translate)4 points
-
We plan to release the final version 12.0 on Monday or Tuesday next week.4 points
-
Hi everybody, I 've built my first Project using PTE AV Studio V. 12.1 recently. Here's a short summary. Overall the App fills much more responsive. The export movie render time is decreases significantly. Finally we got rid of that pesky problem locating same file in different locations. .That's great! Blend Mode works wonderfully to me, opening much more possibilities . The creating backup project takes less time. The only one problem I've found so far was randomly unresponsive timeline head while Stop and Go playing the timeline. While manual scrubbing the timeline goes smoothly. I still run Quad core on Win7, so that's might be the reason. I'd appreciate if someone try to feedback me. I think the Team made a great job on keeping move this great App ahead of competitors. Thank you! Alex553 points
-
Thanks everyone for your kind words. Did anyone notice that the man with the clipboard in the Baikonur control room looks familiar....? Ian3 points
-
The Old Lamplighter Show, AI Or???? I'll Never Tell..... Hope you enjoy the show. Here is the web links to my web site: The Old Lamplighter Show. The Old Lamplighter Show: https://www.pnwhiker.org/LampLighter/LampLighterShow.htm
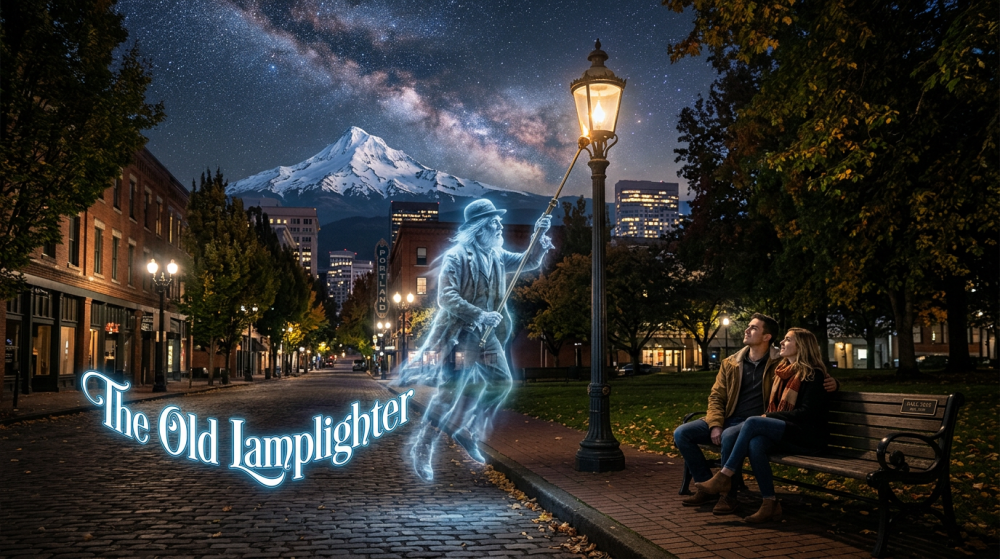 3 points
 -
It would be great if you could get Barry Beckham to make some Tutorial videos for this new release!3 points
-
Hola chanfi22 Gracias por avisarme. Hice la copia de seguridad como siempre. Usé esos cuatro archivos de una plantilla que ya estaba instalada en PTE. Hice otra copia, pero el problema persiste. Lo comentaré con Igor. Los agregué manualmente. Si pudieras verificar que no haya otros problemas, te lo agradecería.2 points
-
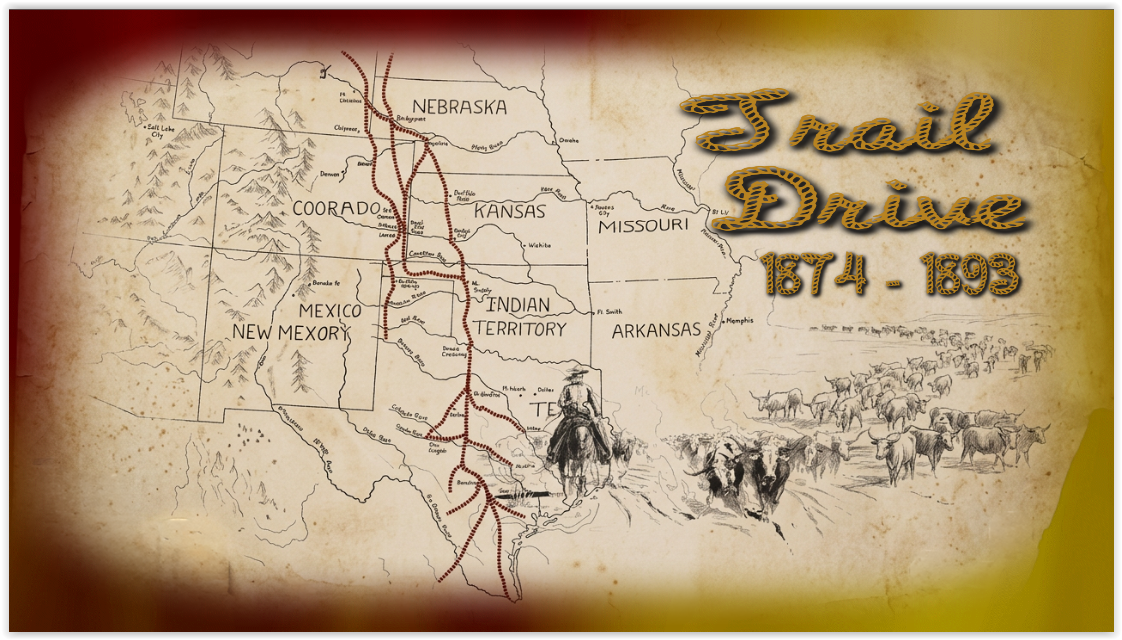
Trail Drive From 1874 - 1893, Hope you enjoy the show. Here is the web link to my web site: Trail Drive From 1874 - 1893 Show. Trail Drive From 1874 - 1893 Show Link: https://www.pnwhiker.org/TrailDrive/TrailDriveShow.htm
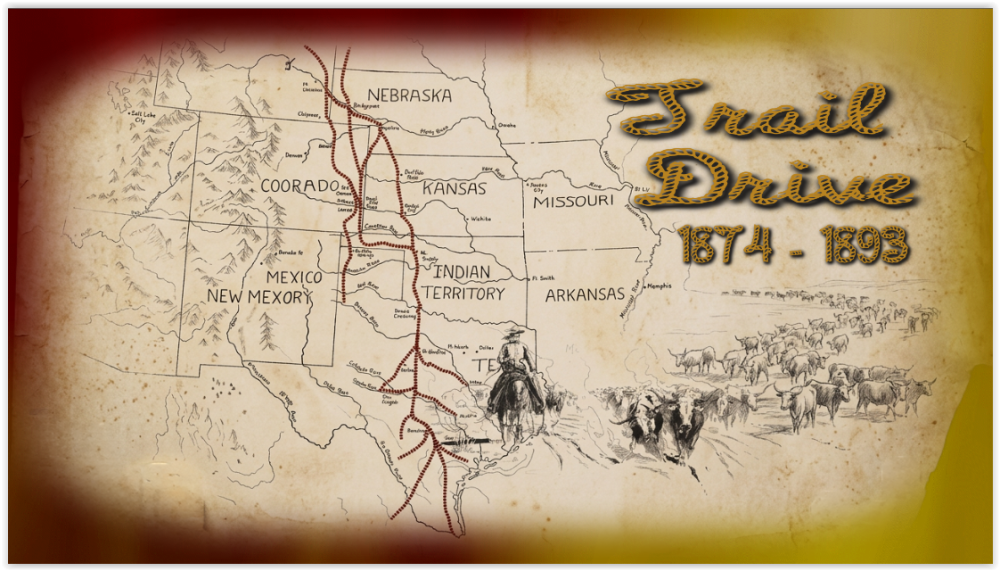 2 points
 -
Good evening everyone. Is it possible to enlarge the keyframe bar in the O&A (Objects and Animation) section of PTE PRO 12 so that I can better see the spacing between keyframes when they are very close together? For example, five transition points spaced just one or two hundredths of a second apart. Unfortunately, my eye sight isn't what it used to be. Thanks in advance for your replies. Ale53.2 points
-
This is something that has been asked for, but currently not possible, I have the same problem with eyesight. One option if you work with 2 monitors is to drag the window out across both monitors. This does help a bit. Using the arrow keys to tab between the KeyFrames can also be useful, rather than trying to drag with the mouse. Jill2 points
-
This is the same video with 2 different edits to show how you can reframe a 360 degree video after capture.. It needs to be edited in special software provided by the drone company.2 points
-
2 points
-
Hello forum, here is the slideshow reworked in English about the garden of Carmen del Campillo in Crevillente province of Alicante in Spain2 points
-
Hi, In PTE AV Studio 12, we fully rewrote the interpolation algorithm between keyframes - it has greatly improved the smoothness of speed modifiers over long time intervals. For example, if you use a speed modifier ("Smooth") to create a long panorama (20 seconds) with a fast pace of movement, V12 demonstrates a smoother beginning and ending for the animation than V11. At slow panning speeds, there is no noticeable difference between V11 and V12. LongPanorama.zip2 points
-
Hi, We're releasing PTE AV Studio 12 for all users on Windows and macOS: https://www.pteavstudio.com/forums/topic/55186-pte-av-studio-120/ It's the same build as Release Candidate 2, published last Friday. Thank you very much for your help with testing the Beta version!2 points
-
Happy birthday, my beloved PTE! Wishing you long life and prosperity!2 points
-
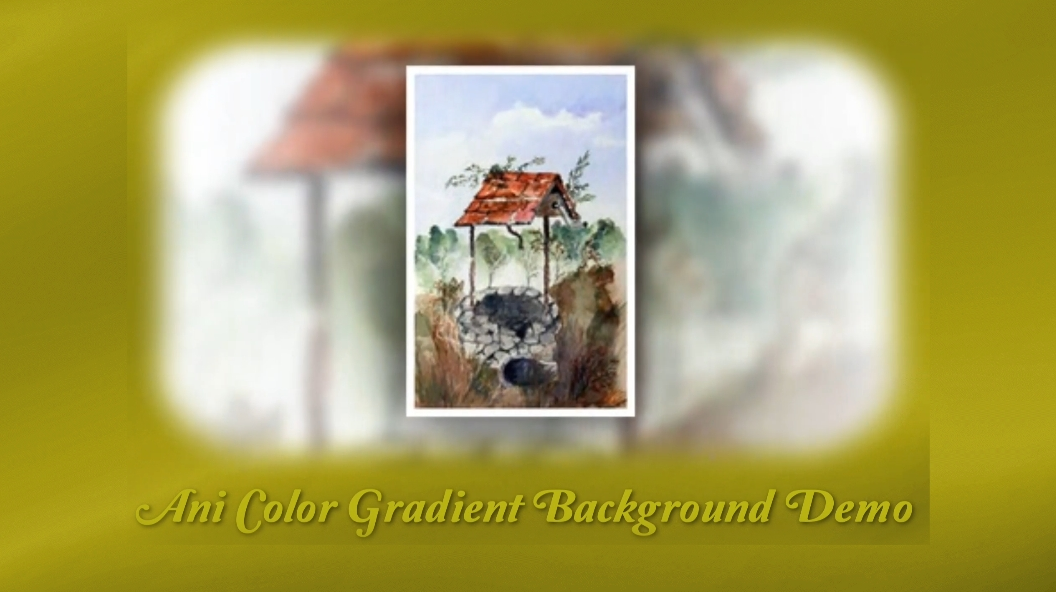
Ani Color Gradient Backgrounds Free Downloads, No Strings Attached FYI: Not looking for your Gold, just hoping you can use them. Free just what the word means, no BS., no log in's or any other jazz required. Here is the web links to my web site: These Files are in Zip Format. VR Color Gradient Backgrounds Demo: https://www.pnwhiker.org/Aniclrbkgs/AniColorGradientBackgroundsDemo.htm VR Color Gradient Backgrounds Zip File: https://www.pnwhiker.org/Aniclrbkgs/zip/AniColorGradientBackgroundsZips.htm Note: These Gif's will loop endlessly no matter the time length of the clip.
 2 points
 -
Hi, We plan to release the final version 12.0 in a week. Now we're updating the translations of the interface into other languages.2 points
-
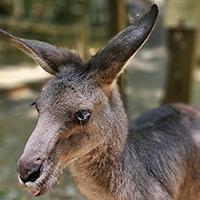
In the warmth of a mid-afternoon sun, aplatypus glides effortlessly through a creek in northern New South Wales. Barely disturbing the mirrored surface, it weaves between submerged branches and over sandy shallows, its sleek brown fur glistening whenever it rises for a quiet breath. Shafts of sunlight dance across the water as dragonflies skim the surface and a kingfisher waits patiently from an overhanging tree. or a few precious moments, the ancient monotreme has the creek entirely to itself. Unhurried and perfectly at home, it searches the muddy bed with its remarkably sensitive bill before disappearing beneath the amber water once more. It is a fleeting encounter, but one that serves as a gentle reminder that some of Australia's greatest natural treasures are found not in grand landscapes, but in the quiet creeks that continue to shelter wildlife much as they have for millions of years. Ironcally, ornithorhynchus was one of the longest words I learnt to spell in school over 50 years ago. Made in PTE V11 and captured on Monday afternoon after the previous drone lighthouse video was captured in the morning. Some days are diamonds and some days are gold.2 points
-
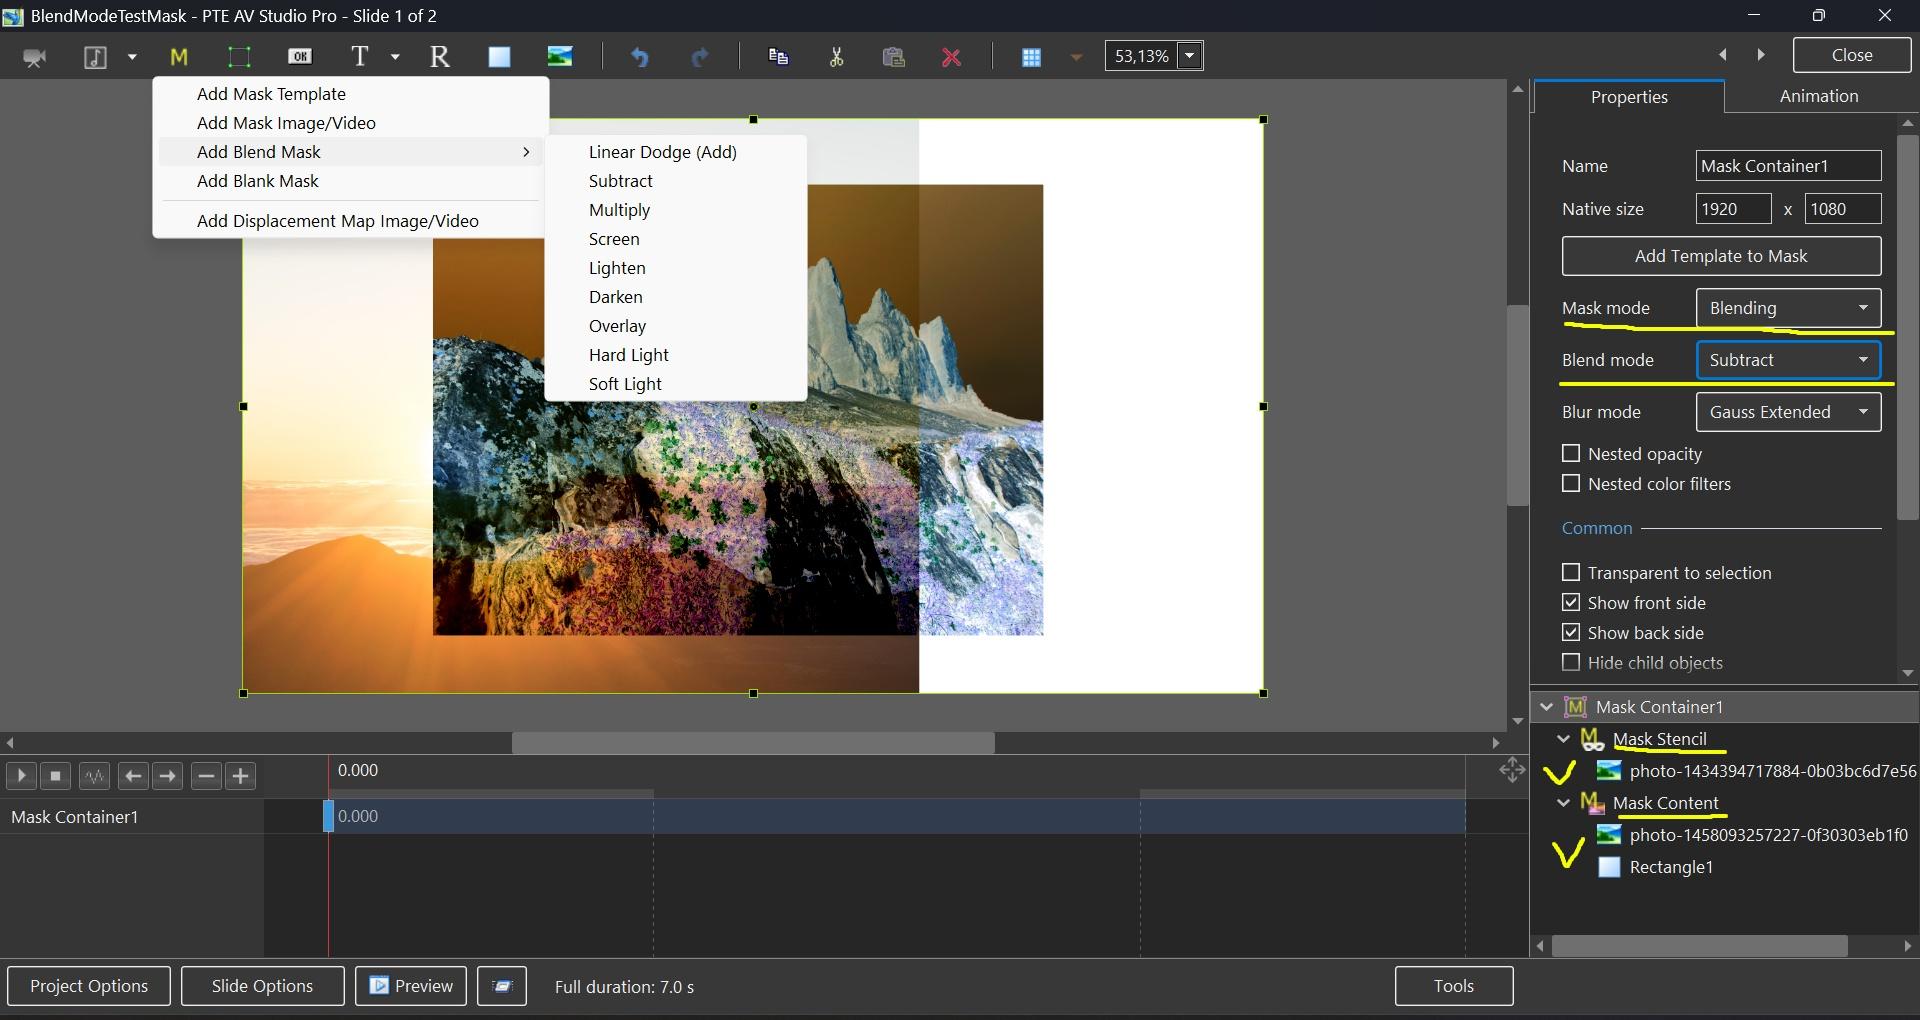
Hi, In PTE AV Studio 12 we've added a new "Blending" mode to the Mask container with support for 9 blend operations: Linear Dodge (Add), Subtract, Multiply, Screen, Lighten, Darken, Overlay, Hard Light, and Soft Light. To use: place the first image into the Stencil, and the second image into the Content of the Mask container. You can add video, text object, rectangle object, or multiple objects (several images, for example). Watch a video example. Click the play button: BlendMode.mp4 BlendMode.zip
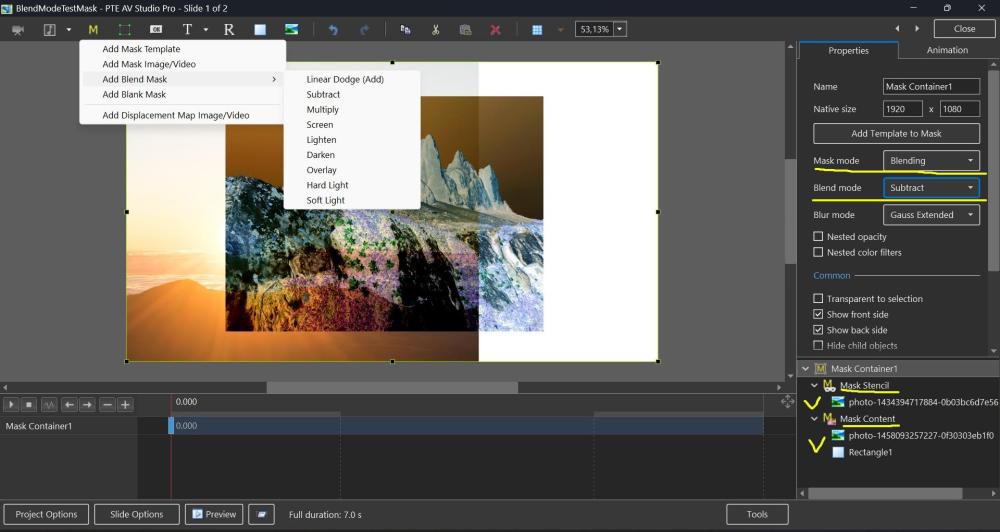 2 points
 -
Hi jienense I can confirm the missing images are in the new downloaded file. Just ran the project and got the error message to say there are missing. I browsed to the folder they were located in and got the ticks to show they were found on a Windows PC. Thanks Mark PS The 4 missing files although they are located, the reference to the location in Slide 7 also needs to be updated in the Objects and Animations Tab Once I saved the project it updated when opened the next time. Thanks again for sharing this detailed project.1 point
-
Hello Javier, Excellent work. It’s original and very well done. Bravo, and a big thank you for sharing the project. However, it’s a shame that 4 files are missing: 1) ramkao2-2.png 2) snow_mount-8.png 3) snow_mount-3.png 4) tree-2.png1 point
-
Love it - very well done. Great use of the new features. Thanks for sharing.1 point
-
I am making a new production on my Mac Studio. All the initial slides/images are constructed using Objects and Animation with precisely positioned Key Points. I am using O&A due to the ease within PTE Studio of repositioning the slide within the frame to allow for text to be positioned next to the slide. Now the problem. When I try to place a new slide (or video) on the Timeline following the last Slide from within O&A, all the previous Slides move to the Left and reposition near to the start of the Timeline. The normal suggested advice to avoid this problem (I understand) is to make sure that in Settings/Preferences/Project you must Untick the box 'Scale key frames in Objects (on Time Change)'. This I have done but it fails to solve the problem. Advice please. This problem has now been solved through advice on the Facebook PTE Studio website. The solution is to Untick 'Scale key frames' in both Settings/Preferences/Project and Slide Options.1 point
-
Updated version of PTE AV Studio 12.0.2 is available for PC and Mac Download: https://www.wnsoft.com/pte-av-studio/download/ Or use the Auto Update function: Main menu > Help > Check for Free Updates Fixed an issue where editing or changing a previously assigned custom transition on a slide would incorrectly select that transition on the "Transitions" tab in Project Options. Fixed an issue with cursor position when clicking into the top-left corner of an empty text box before typing the first character. Fixed an issue with a text comment displaying a video file name on a slide using a text template. About window shows: 12.0.2 Build 1.1 point
-
A short AV made of images after a visit to Whian Whian Falls last week. A simple dissolve of images from the top of the falls. This is another version of the same images using the Camera 2 Template provided by jienense. I made some changes to the end and although it was meant to show the 15 different camera captures, I useed the complete series in this instance. Using shared tmplates does help with my learning as I re-engineer/design the template even with the different language barrier. thanks for sharing. Mark1 point
-
Very interesting and well done! Great use of AI. Yuri Gagarin is also commemorated on the wall of a subway station in Tashkent, Uzbekistan dedicated to the cosmonauts (built when the USSR still existed).1 point
-
Tanks for replay. I imagined as much.1 point
-
I enjoyed your voice over and accent as much as the visuals 😊 Kieron1 point
-
"UNFORGIVING HIMALAYAS" (looping version) - is this week's free-to-use-with-attribution music track now in Ogg format. You can listen to it here: https://soundimage.org/wp-content/uploads/2026/07/Unforgiving-Himalayas_Looping.ogg And download it here: https://soundimage.org/world/ The standard, non-looping version is in Mp3 format, so if you're a video content creator, this is the one you'll want to use. Same for all the tracks on my site. 🙂 OTHER HELPFUL STUFF My Ogg Game Music Mega Pack: https://soundimage.org/ogg-game-music-mega-pack/ My Ogg Genre Music Packs: https://soundimage.org/ogg-music-packs-2/ Custom Music https://soundimage.org/custom-work/ Attribution Information: https://soundimage.org/attribution-info/ Enjoy! 🙂1 point
-
Thanks for the reply Igor. It is a head scratcher as I do not use an antivirus on this particular machine. It is an extremely fast and high end build and everything loads quickly on a Samsung 9100 PRO Series - 1TB PCIe 5.0 x4, NVMe 2.0, M.2 Internal SSD The files are stored on another M.2 internal drive . For a full day it would not work and I believe the cache files were corrupted as it showed the audio with all adjustment but green error It now works like a charm so I will wait and see. Really enjoying version 12 as my housekeeping on previous shows was was not the best. The Create Backup in ZIP command now correctly handles projects with multiple files that share the same name in different folders. I do large productions so the added support above 2GB is most welcomed. So many things that make this a worthwhile upgrade. Thank you Kieron1 point
-
Nice results from the shoot. Looked like a great facility to do the club shoot - nice to have all the equipment to do three shoots at once1 point
-
Hi Rosemary, Please read the 11 mini tutorials for all the new major features in PTE AV Studio 12: Every publication tells about a new feature, includes screenshots or a video demonstration, and sample projects: https://www.pteavstudio.com/forums/tags/new feature/ 2. The online help has updated articles for new features: https://docs.pteavstudio.com/en-us/12.0/v12_wn/main 3. Also read the What's New page on our website: https://www.wnsoft.com/en/pte-av-studio/whats-new-12/ It tells about new features and includes screenshots and video demonstrations.1 point
-
Well done, nice work. Congratulations.1 point
-
Updated version of PTE AV Studio 12.0.1 is available for PC and Mac Download: https://www.wnsoft.com/pte-av-studio/download/ Fixed an issue where some slide styles could not be applied to slides. Fixed the video file extension not updating correctly in the Save File dialog after changing the export format (between MP4 and AV1). About window shows: 12.0.1 Build 1.1 point
-
JRR, can you please encourage people to use English - this is an English Forum? DG Guy, can you please use Google translate and post in English? DG1 point
-
Congratulations on this anniversary – I look forward to the new version.1 point
-
Hi Igor Thank you and your team for a wonderful program and like Kieron said hours and hours of fun and looking forward to the next Pro version . Michael1 point
-
1 point
-
Hi John, Here's a link to The Dom photo album. The product costs about 20 €. I bought one myself and am very happy with it. Maybe this will be helpful to you. https://thedom.gumroad.com/l/kLjsfG?layout=profile Best regards1 point
-
Hi Mark, very fine result1 point
-
Mark, thanks for this example of using V12 blending modes in a real project.1 point
-
Hi, In PTE AV Studio 12 hold the Shift key while dragging a sound volume keypoint in the Timeline to adjust it with finer precision - the keypoint moves 3x slower than your mouse cursor, giving you 3x better accuracy when fine-tuning the value. Watch a video demonstration. Click the play button: audio-keypoints-with-shift-key.mp41 point