Aleina Show
-
Posts
258 -
Joined
-
Last visited
-
Days Won
27
Everything posted by Aleina Show
-
Xenofex2, digartal, Thank you very much for such a high rating! canaro99, Thanks for your valuable suggestions! Merry Christmas!
-
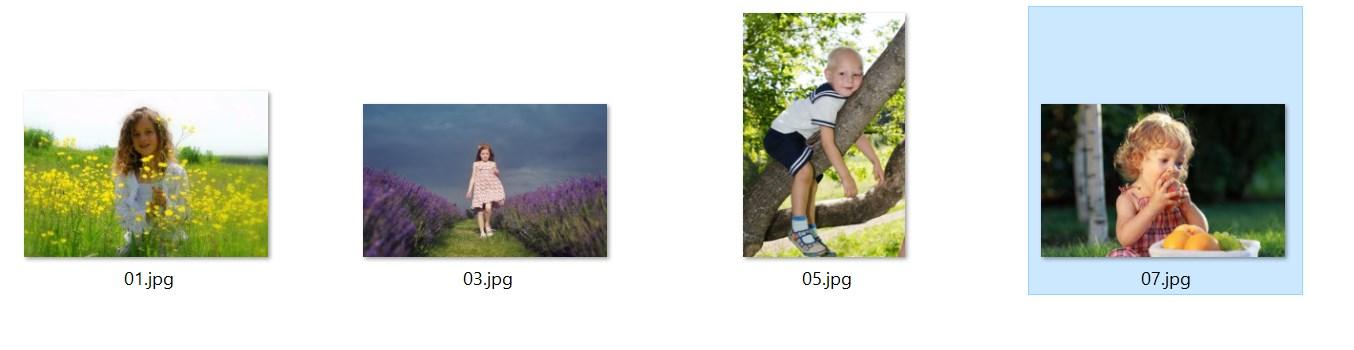
John, thank you very much for your feedback and for your valuable tips! Your help makes my projects better! Well, about the position of the photographs. This is not important in this project for correct operation, since any photos will be automatically cropped to the desired result. What is important here is only the approximate location of the person or face in the center of the photo. Examples of replacing different photos in screenshots. But for a better understanding of the choice of angle in photographs, this information may be useful. In this project, all example photographs are portrait-oriented (vertical).


-
JRR, chanfi22, Frans Thanks friends! Happy holidays to all of you! Aleina
-
Tauratinzwe, Henri, Igor, Kieron Thank you for appreciating my work! Merry Christmas and Happy New Year! Aleina
-
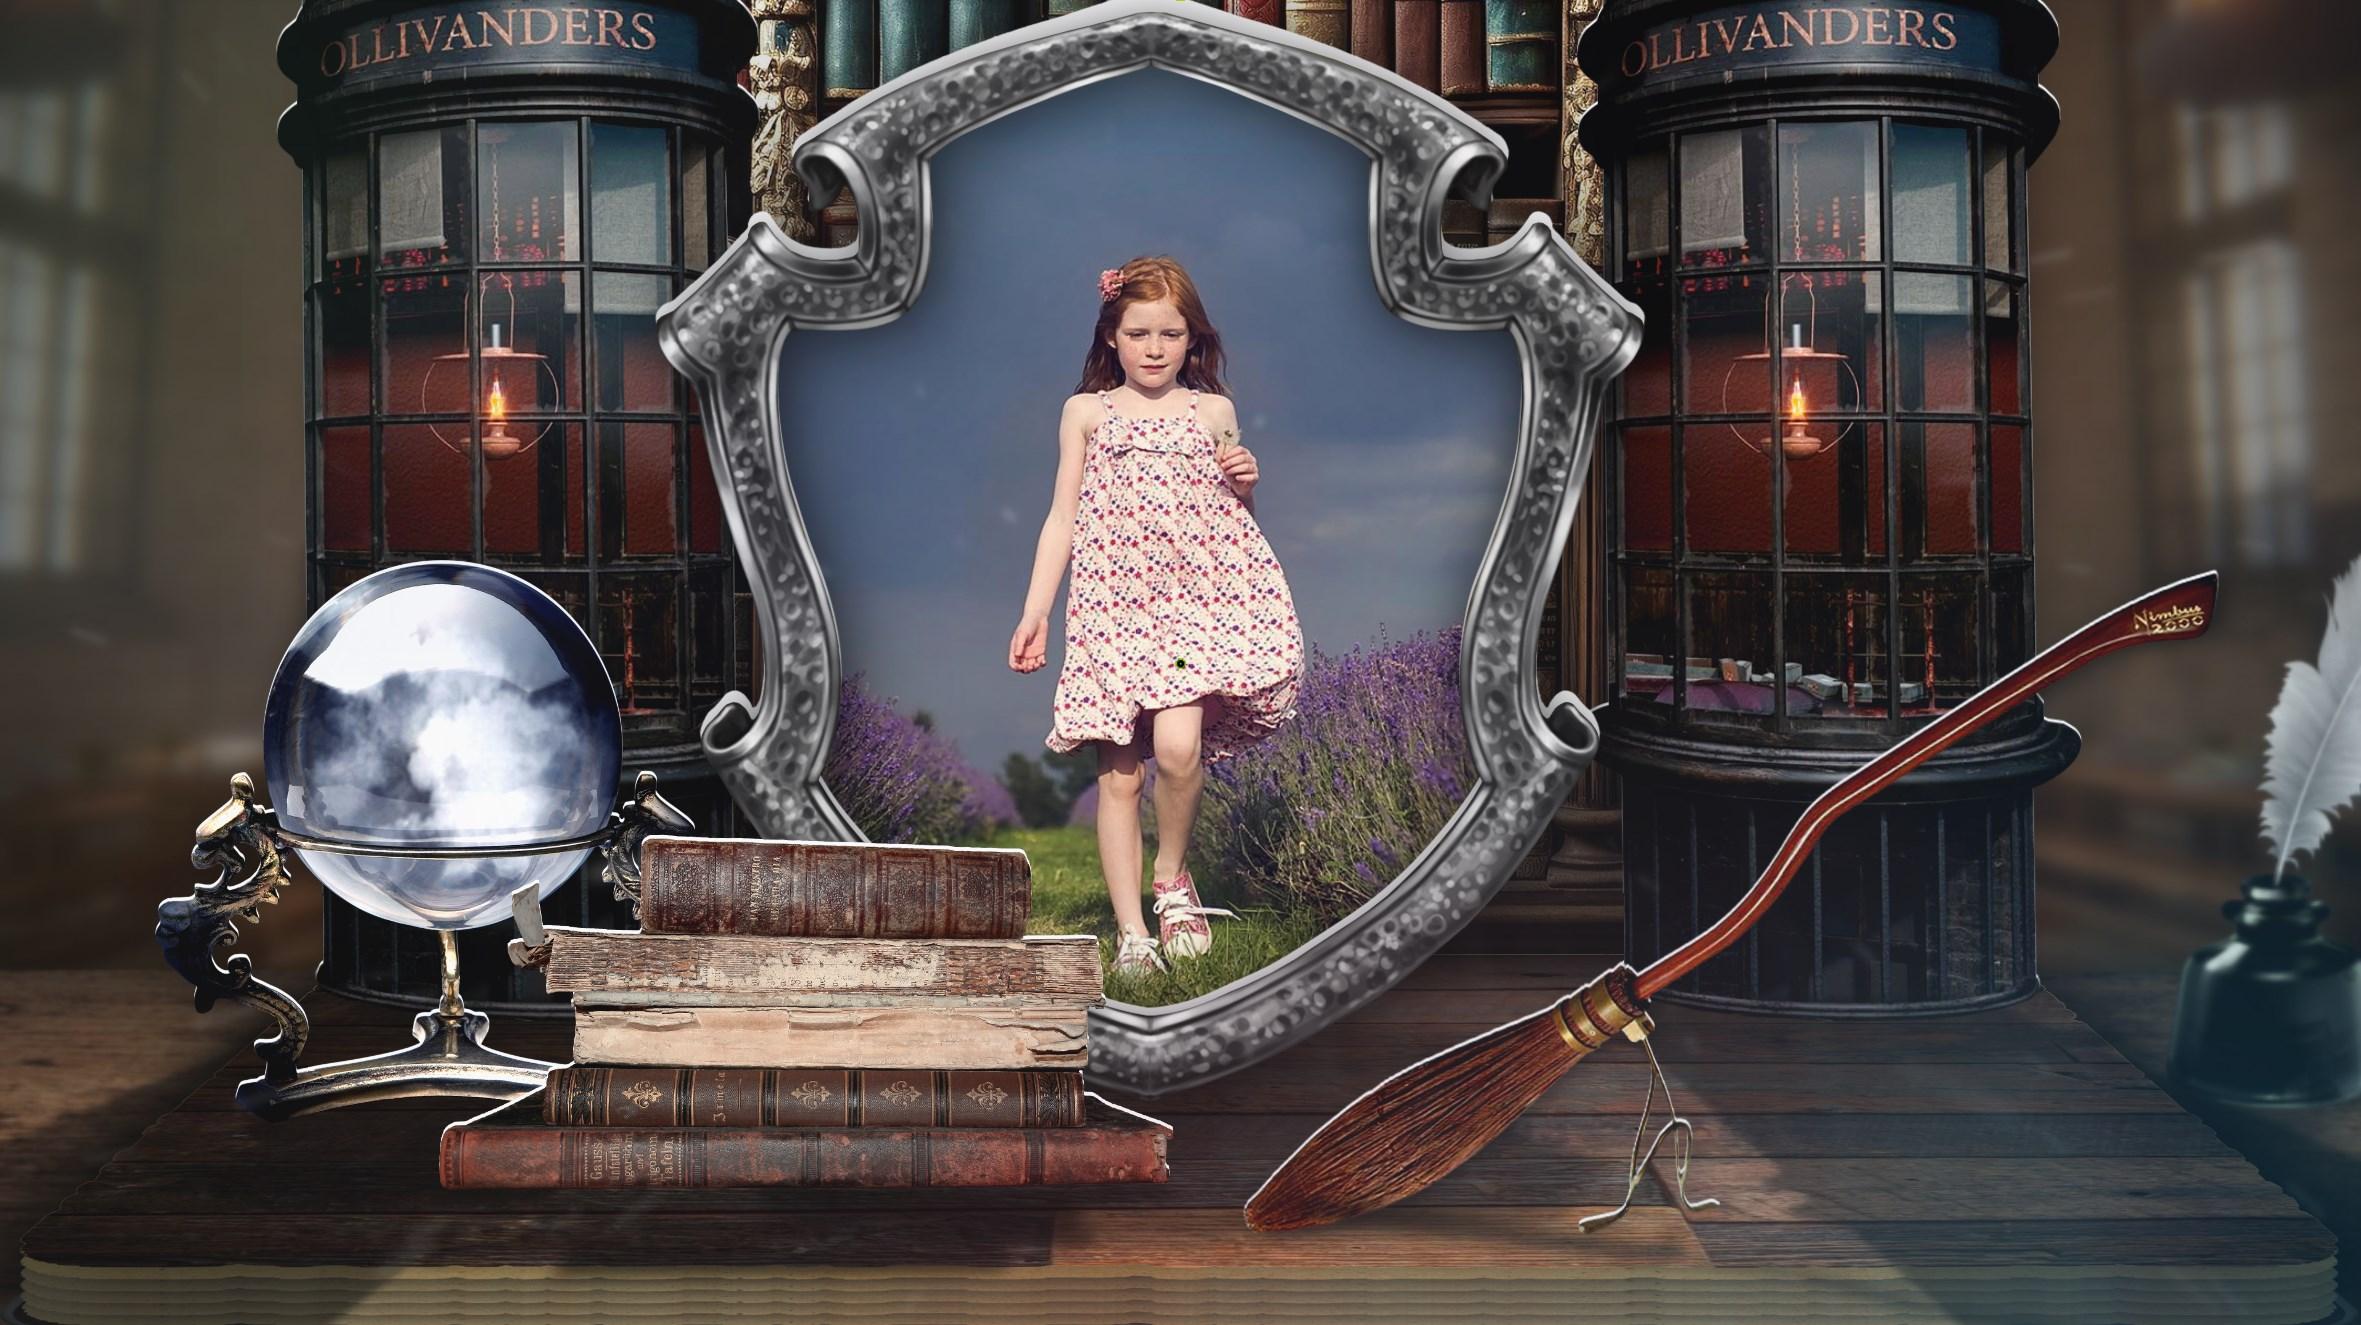
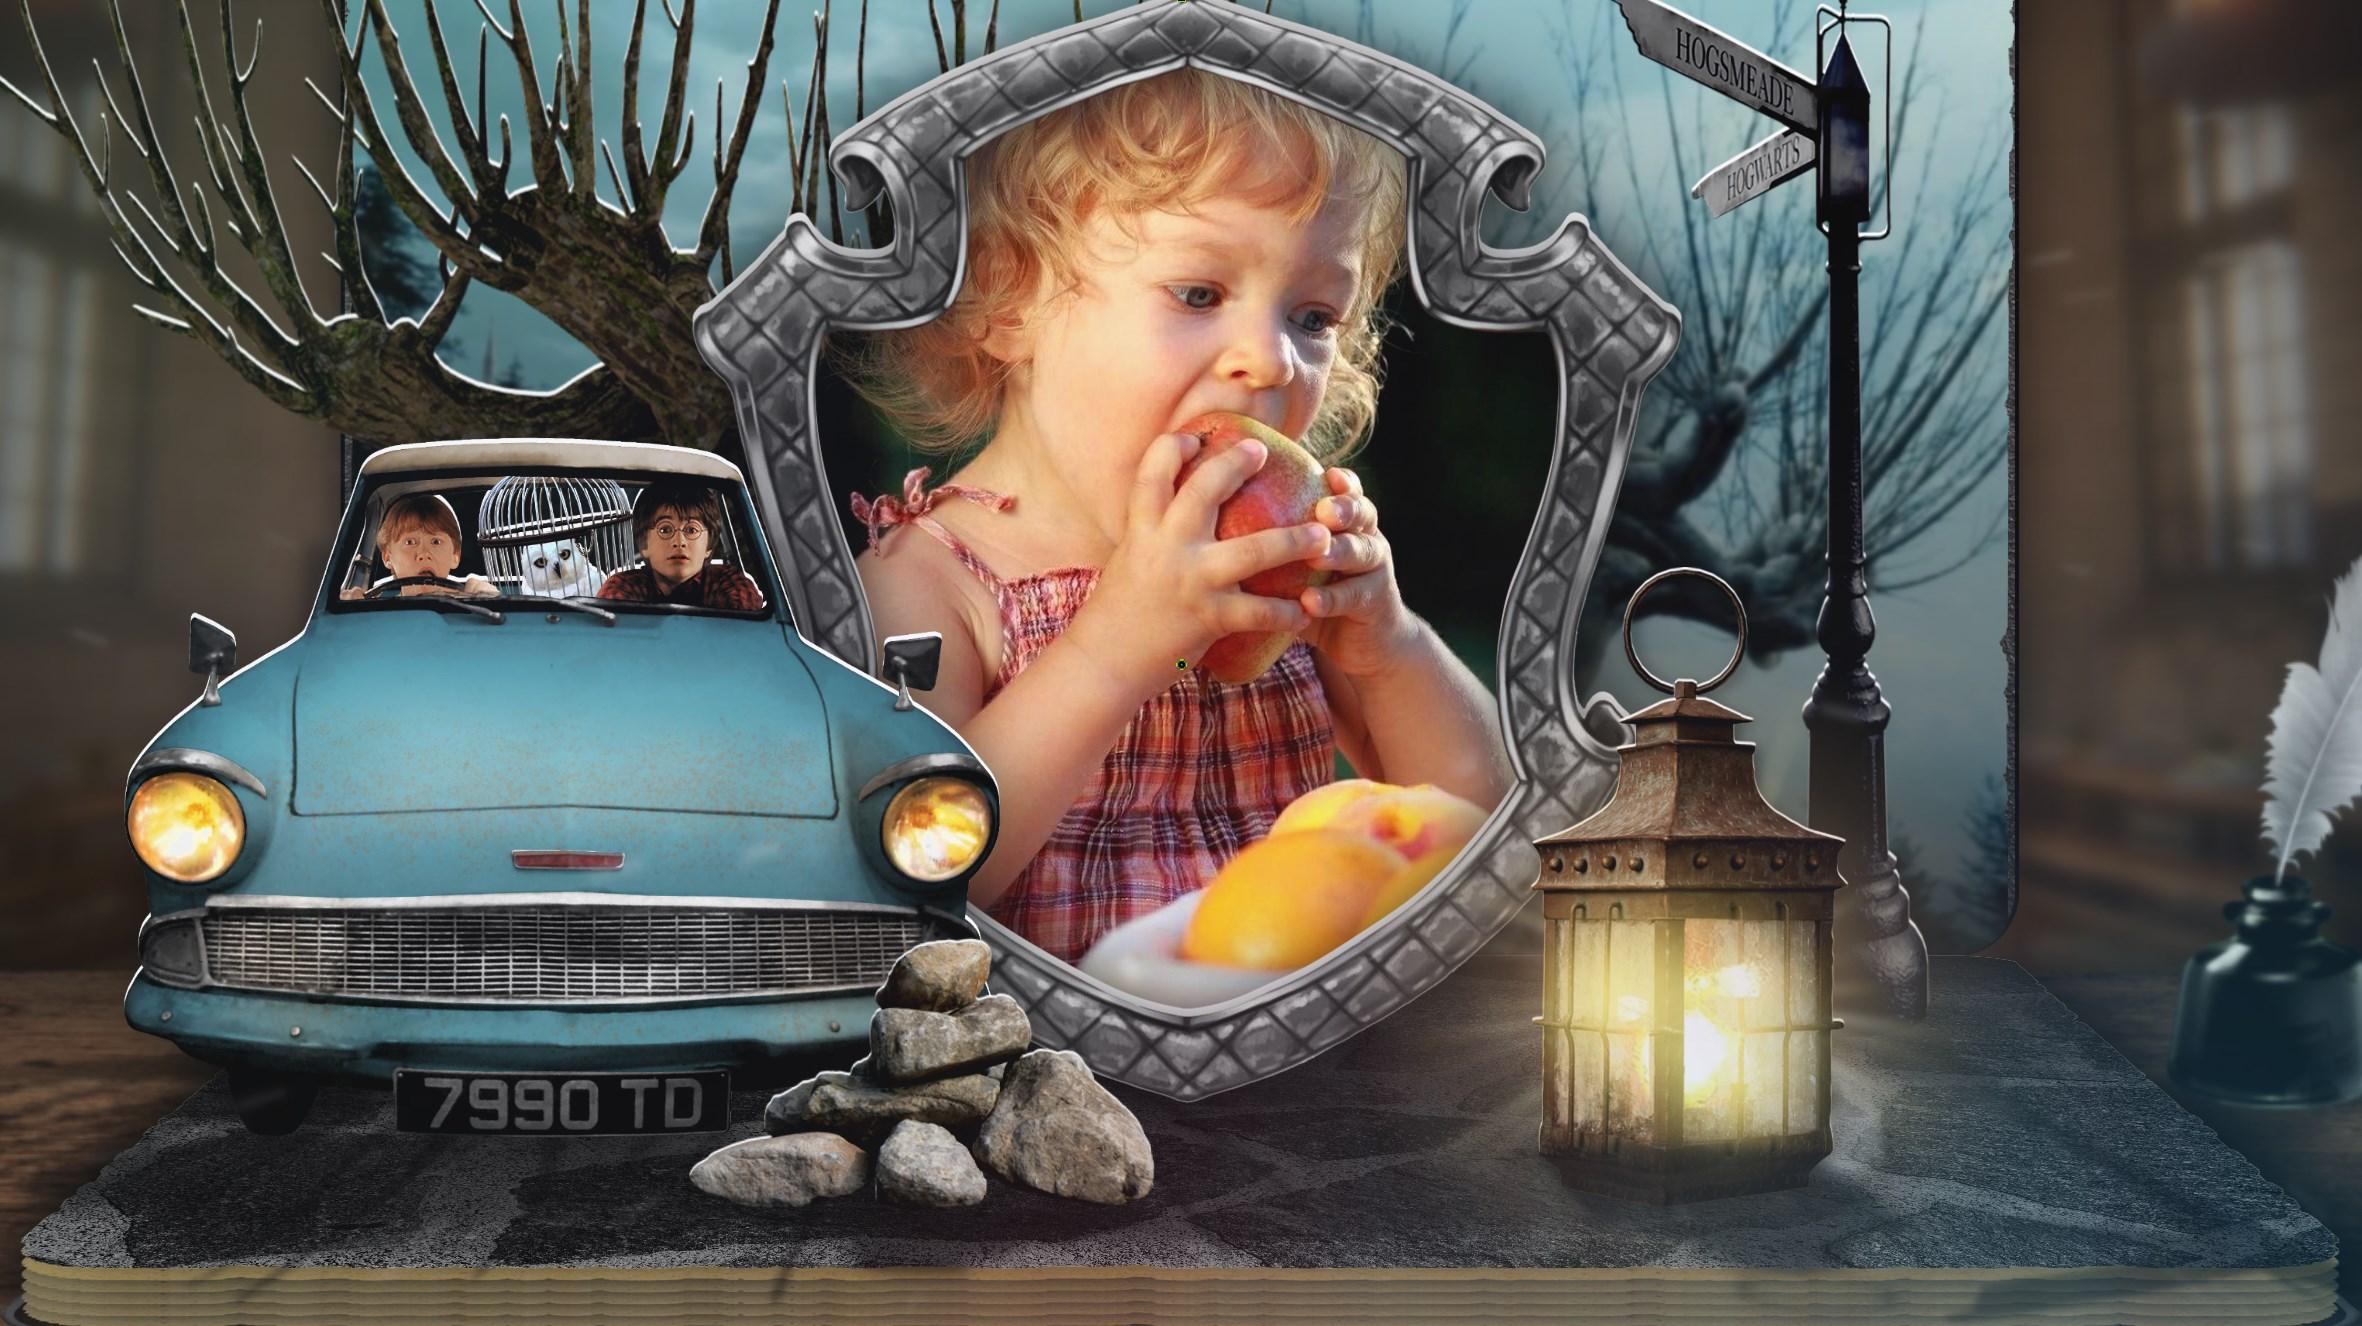
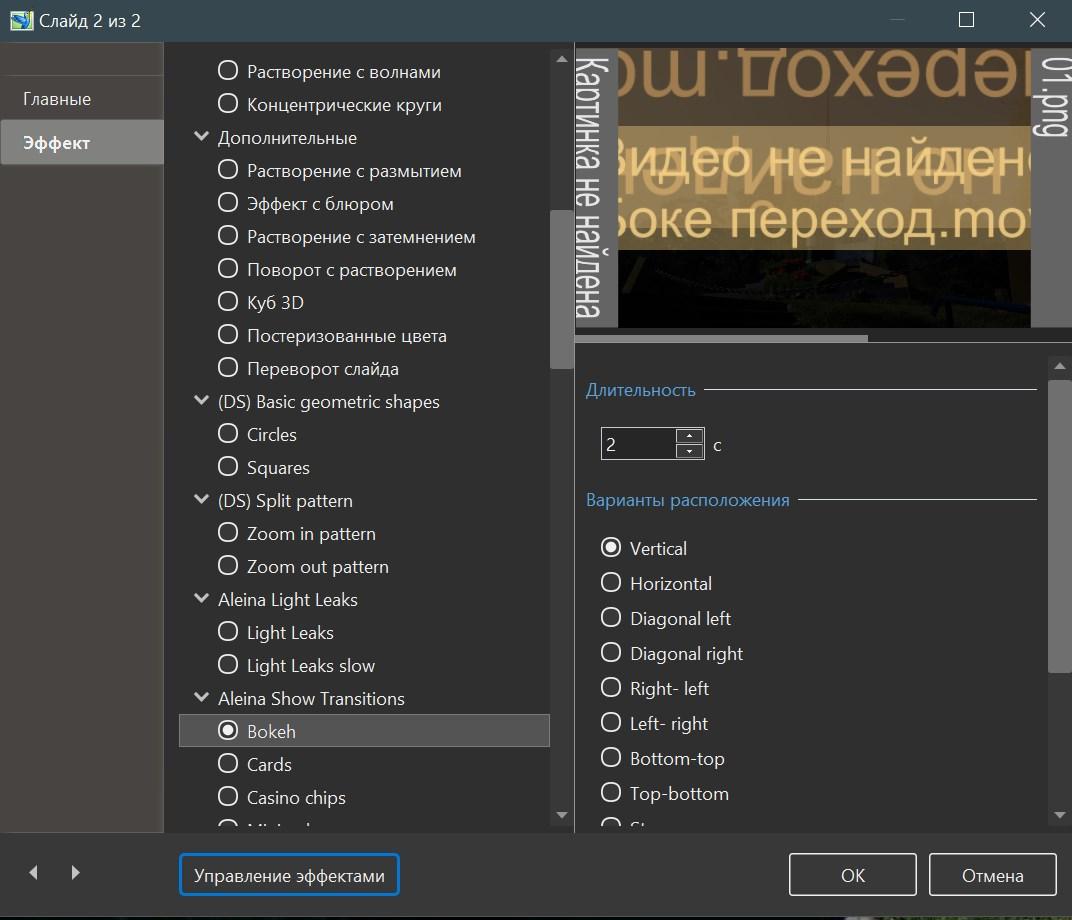
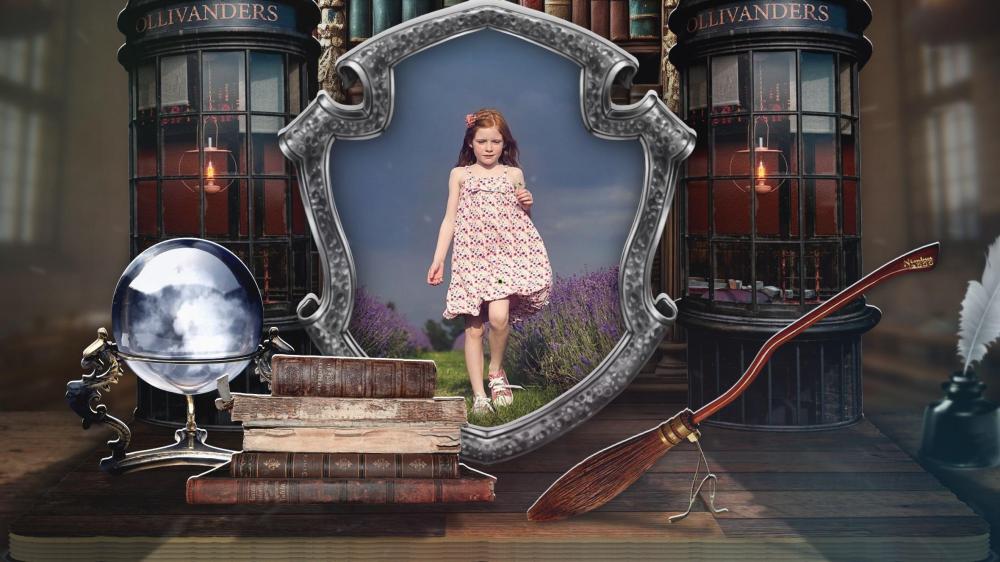
Hi friends, I'm coming to you with a new book. Christmas and New Year are ahead, my family and I usually watch the Harry Potter series of films at this time. It is these films that we always associate with the Christmas and New Year atmosphere. And I wanted to make a book on this topic. I've added the ability to edit a personal letter from Hogwarts. After all, every Potter fan will be very pleased! Since I had more time (I spent 3 weeks on this project), I created the book from scratch. Revised and improved the concept. The result is already close to the ideal book I dream of. In addition, I always try to make the process of editing a project easier. But due to the large number of layers, sometimes you have to search for photos in the layer tree. This problem is quickly solved using the attached style. But our forum member John Tice told me an even better way to create projects with easy photo replacement. Thank you very much, John! And I want to tell you about this method. Perhaps it will be useful to someone. The method is described in italic text. _________________________ The concept is that 2 additional folders are created in the project folder. One with the name YOUR PHOTOS. We move all the photos of the project into it, renaming them 01.jpg, 02.jpg, etc. Open the program and tell it the new location of the photo. Save. The second folder is called PROJECT PHOTO. Initially it is empty. If you just want to change the photos in the project, but find the ones you need, rename them in order 01.jpg, etc. For safety, transfer the project photos to the PROJECT PHOTO folder, and add your renamed photos to the YOUR PHOTOS folder. Important! In order for this change of photos to work correctly, you need to check the “crop” option on the layer with the photo during the creation of the project. Then the replaced photos will be applied correctly and smoothly, regardless of their size or orientation (portrait or landscape). By doing this we will not violate the intention of the author of the project. That's all. All efforts for the author of the project consist of checking the cropping boxes for the photo, creating 2 folders, renaming the photos and moving them to the desired folder. After the program confirms the new path and file names, the project is ready to work with easy replacement of photos in the folder. In order to edit a project, a person will only need to select photos in jpg format, rename them and replace the original photos of the project with them. For those who ask about the need to create 2 new folders, I will immediately answer that it is simply a matter of convenience. __________________________ So, for those who haven’t read the italic text and are wondering whether it’s easy to change photos in a project, I answer: Easy! You will only need to select photos in jpg format (with the approximate location of the object in the center), rename them 01-14.jpg, and replace them with the original photos of the project in the folder. I plan to remake all my projects for such easy editing, as I highly value ease of use! I wish you happy holidays!
- 26 replies
-
- 10
-

-
 Hi John, Thank you very much for such a wonderful review about both the PTE AV Studio program and my templates! I am glad that my creativity gave you and your loved ones emotions of joy! And the PTE program is truly wonderful! At the moment, it is noticeably superior to all analogues. And it doesn’t stop developing. Good luck in your creativity! Aleina
 -
Hi George, Thank you very much for your kind words! Aleina
-
Hi Mark, Thank you very much for such a high assessment of my work and wishes! Aleina
-
The Home --Slideshow with free Style samples
Aleina Show replied to Alex55's topic in Slideshows & AV Shows
Hi Alex, Thank you! It's beautiful and complex! And such a display of photographs is universal and can be used with different themes! Aleina -
I would like to share my impressions of using the PTE AV program for 4 years. Before that, I worked for more than 10 years in the Proshow Producer program. But the time came when the Proshow developers refused to support their program and stopped optimizing it for new operating systems. As a result, I, like many users, began to look for an alternative program for my creative purposes. I'm probably not a completely standard user, since I like to create quite complex and multi-layered content. Therefore, I had the highest possible requirements for programs of this kind. I reviewed, tested and rejected about 10 alternatives. And I settled on PTE AV, almost from the first day of testing it. What captivated me about this program? This list can go on for a long time, but I will focus on the main ones. 1. Optimization. PTE AV opens projects very quickly and easily, even very complex ones. A few seconds and the program is ready to work. There is no lengthy reading of styles, transitions and footage. You can customize the opening of the program to your liking; you can make it open when you open the project you are working on, or you can make it open a new one. The program is also very fault-tolerant. Freezes and crashes over the years of operation can be counted on one hand. The development team is constantly working to optimize the program and solve every problem voiced on the official forum. 2. The program setup itself. It is very flexible, adapts to different tasks, it is very convenient! 3. Render. Fast and very high quality. Quality can be increased up to 150%. And also use motion blur if necessary. This is gorgeous! 4. Functionality! Everything is rich here! There is almost everything to realize your limitless imagination! Group layers, nested masks, 3D space, modifiers - this is just the main base. And how many more surprises you will find as you explore! Such as displacement masks or different types of blur! 5. Variability. Yes, this program helps develop creative thinking. And you may be surprised as you work that you can solve some problems in more than one way. 6. Potential. The program does not stand still. Over the 4 years during which I have been a user, many improvements, additions, and expanded functionality have been made. The program has become much more convenient to use. And work on it is ongoing. The developers are not going to abandon their project, but are constantly improving it! I wish success to the development team! Well, in conclusion, I would like to attach a link to my post, which contains a comparison of working on one complex project in the Proshow Producer and PTE AV programs.
-
Igor, Alex Thank you for such a high assessment of my next attempt to create the perfect book! I am very grateful to you! Aleina
-
jienense, chanfi22 Thank you very much! 16 slides. 2 introductory slides and one final slide with the closing of the book. The remaining 13 slides include 1 page turn.
-
Kieron, vbl2007 Thank you very much guys!
-
I decided to show you another version of the book, made in PTE AV 11. (I published this post as a pinned comment on YouTube for this video. Next is a comparison of the complexity of the creation process in 2 programs. If you are not interested, you can skip further text.) A little background for those who don’t know. A few years ago, the technology for creating such a pop-up book was invented by Paul (stranger2156) (of blessed memory and gratitude) on his forum. This was done in Proshow Producer. Many of us are familiar with this program, and the comparison may be interesting. I am writing this post specifically for those who are interested in comparing the creation process. Paul has published a series of tutorials explaining the principles. And many different books appeared on YouTube, including mine. The process of creating the book was very painstaking and complex. This is probably why I still remember Paul's words when he was first introduced to the PTE AV program. Somewhere in his post he said that if he can repeat that book of his in this program, then the program is really worthy. Paul has created some interesting books in PTE AV, but I haven't seen him repeat the exact one he mentioned. Maybe I just don’t know something, then those who know will correct me. So, I also wanted to repeat this book more than once, but I kept putting it off. Until I received an order to redo this project for PTE AV 11. And then I had to do it. Since everything had to be done quite quickly, I started doing it intuitively, remembering something like how we usually do books in PTE AV. Yes, I'm not a big expert in creating books, so I often got confused about the order of the pages so that they overlapped each other correctly. But nevertheless, I did everything based on intuition. This already suggests that the PTE program is easier for complex projects (books in particular). Next, I remember how I struggled with the Proshow program when I was working on this book. The program constantly behaved unstable and crashed. I thought that my computer was to blame, but it turned out that many people had this problem. But I can’t speak for everyone, I’m only telling my subjective experience. As a result, in one project I was only able to create one slide with a 1-page spread. The work was structured in such a way that each slide was created in a new project and saved as a style. Only at the very end were all these finished slides transferred to the overall project. It was not realistic to work on editing a common project. The Proshow program simply crashed. That is why this book was presented only in a set of styles that could still be edited. Then even more complex problems arose. New versions of the Proshow program were released, but it was possible to work normally with these styles (rendering) only in the 5th portable version. New versions of the program crashed during rendering, and often while opening and editing a photo. In this regard, I completely remade my version of the book for Proshow Producer a long time ago. The project turned into a set of mask footage, the only way its functionality was preserved. I will admit that this experience made me a little scared to do the same book in PTE AV. But I want to say that I did not encounter any of these problems. The program easily withstood the load of a large number of layers and PNG images. I made all 17 slides in one project, the program did not freeze or crash. Moreover, to each slide I also added 3 footage with masks for atmosphere. And closing the book in the PTE version turned out much more natural. So, the PTE AV program and its developers WnSoft! Once again I praise you and express my sincere gratitude! You are best! PTE AV = lots of beautiful books! PTE AV = ❤ Aleina
- 15 replies
-
- 10
-
-

-
Include Fonts in .zip Project Backup
Aleina Show replied to Jimcamel's topic in Suggestions for Next Versions
I also agree. An alert feature would be helpful. -
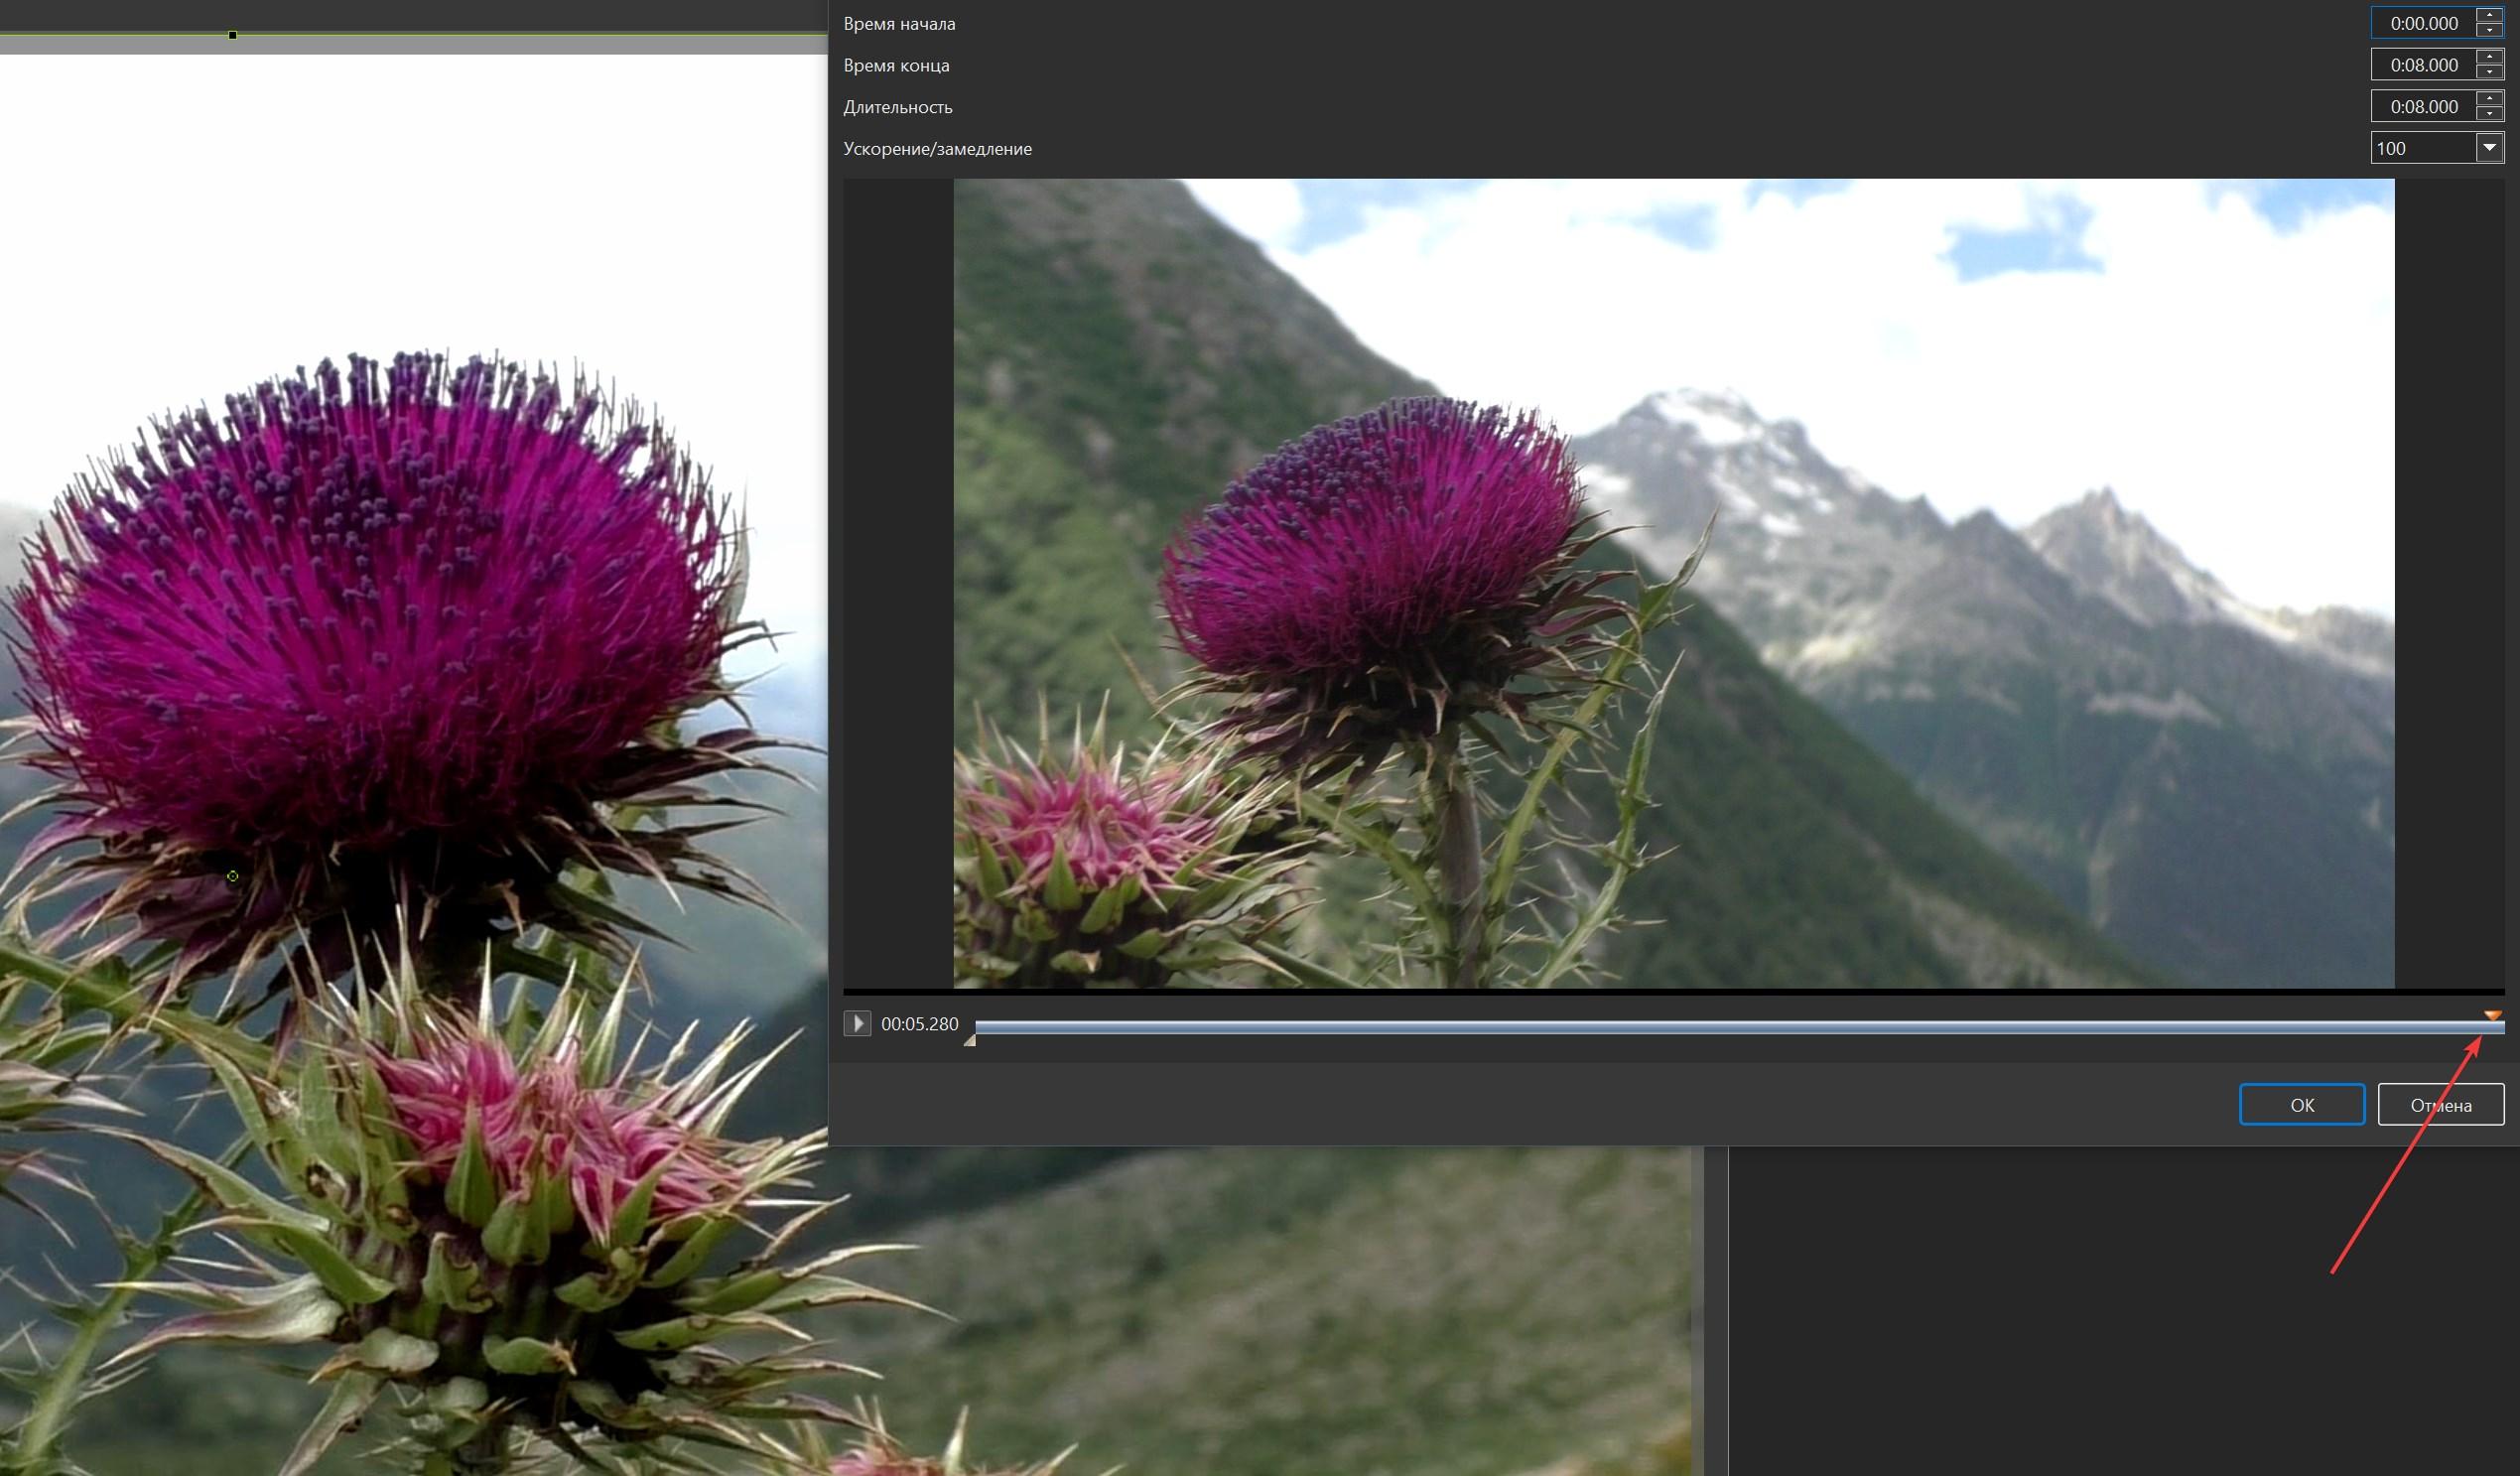
Greetings Gary, I support your proposal. I often use video cropping and also feel a certain inconvenience from the fact that there is no way to put a crop marker exactly where the cursor stopped. It would be very convenient to use such a function. Aleina
-
Return slider from end to start (in crop window)
Aleina Show replied to Aleina Show's topic in Suggestions for Next Versions
Javier, thank you very much! I finally figured it out and this method really works! It has become much more convenient to work. -
Return slider from end to start (in crop window)
Aleina Show replied to Aleina Show's topic in Suggestions for Next Versions
Igor, thanks for the reply! I think the click to select position location is a great suggestion. Javier, thanks for the guide. This is very convenient to do if there is no shift in the starting point. In any other cases, the start settings are simply lost. A good option, but not ideal. -
Request to Igor. Is it possible (complicatedly) to make the slider in the video trim window automatically return to the beginning of the clip after it has played to the end? I often use the functions of this window and constantly have to manually drag this slider. If the slider worked as a marker (beginning or end of cropping), then I would understand the expediency of its fading at the end of the video. In other cases, I would prefer the slider to return from the end to the beginning of the clip.

-
des transitions dans PTE AV Studio 11 ne fonctionnent plus [SOLVED]
Aleina Show replied to nicky68's topic in Troubleshooting
The transitions that I created myself do not work for me. Videos and pictures that were used in transitions were not found. But the same problem was in the previous version. I was just very busy and forgot to write about it.
-
Tom, thanks, that's a very nice transition! Aleina.
-
Thank you all for your help! Turns out all the wise decisions are so simple! I didn't know you had to specify video as the main object. But that makes sense. Minus to my karma.
-
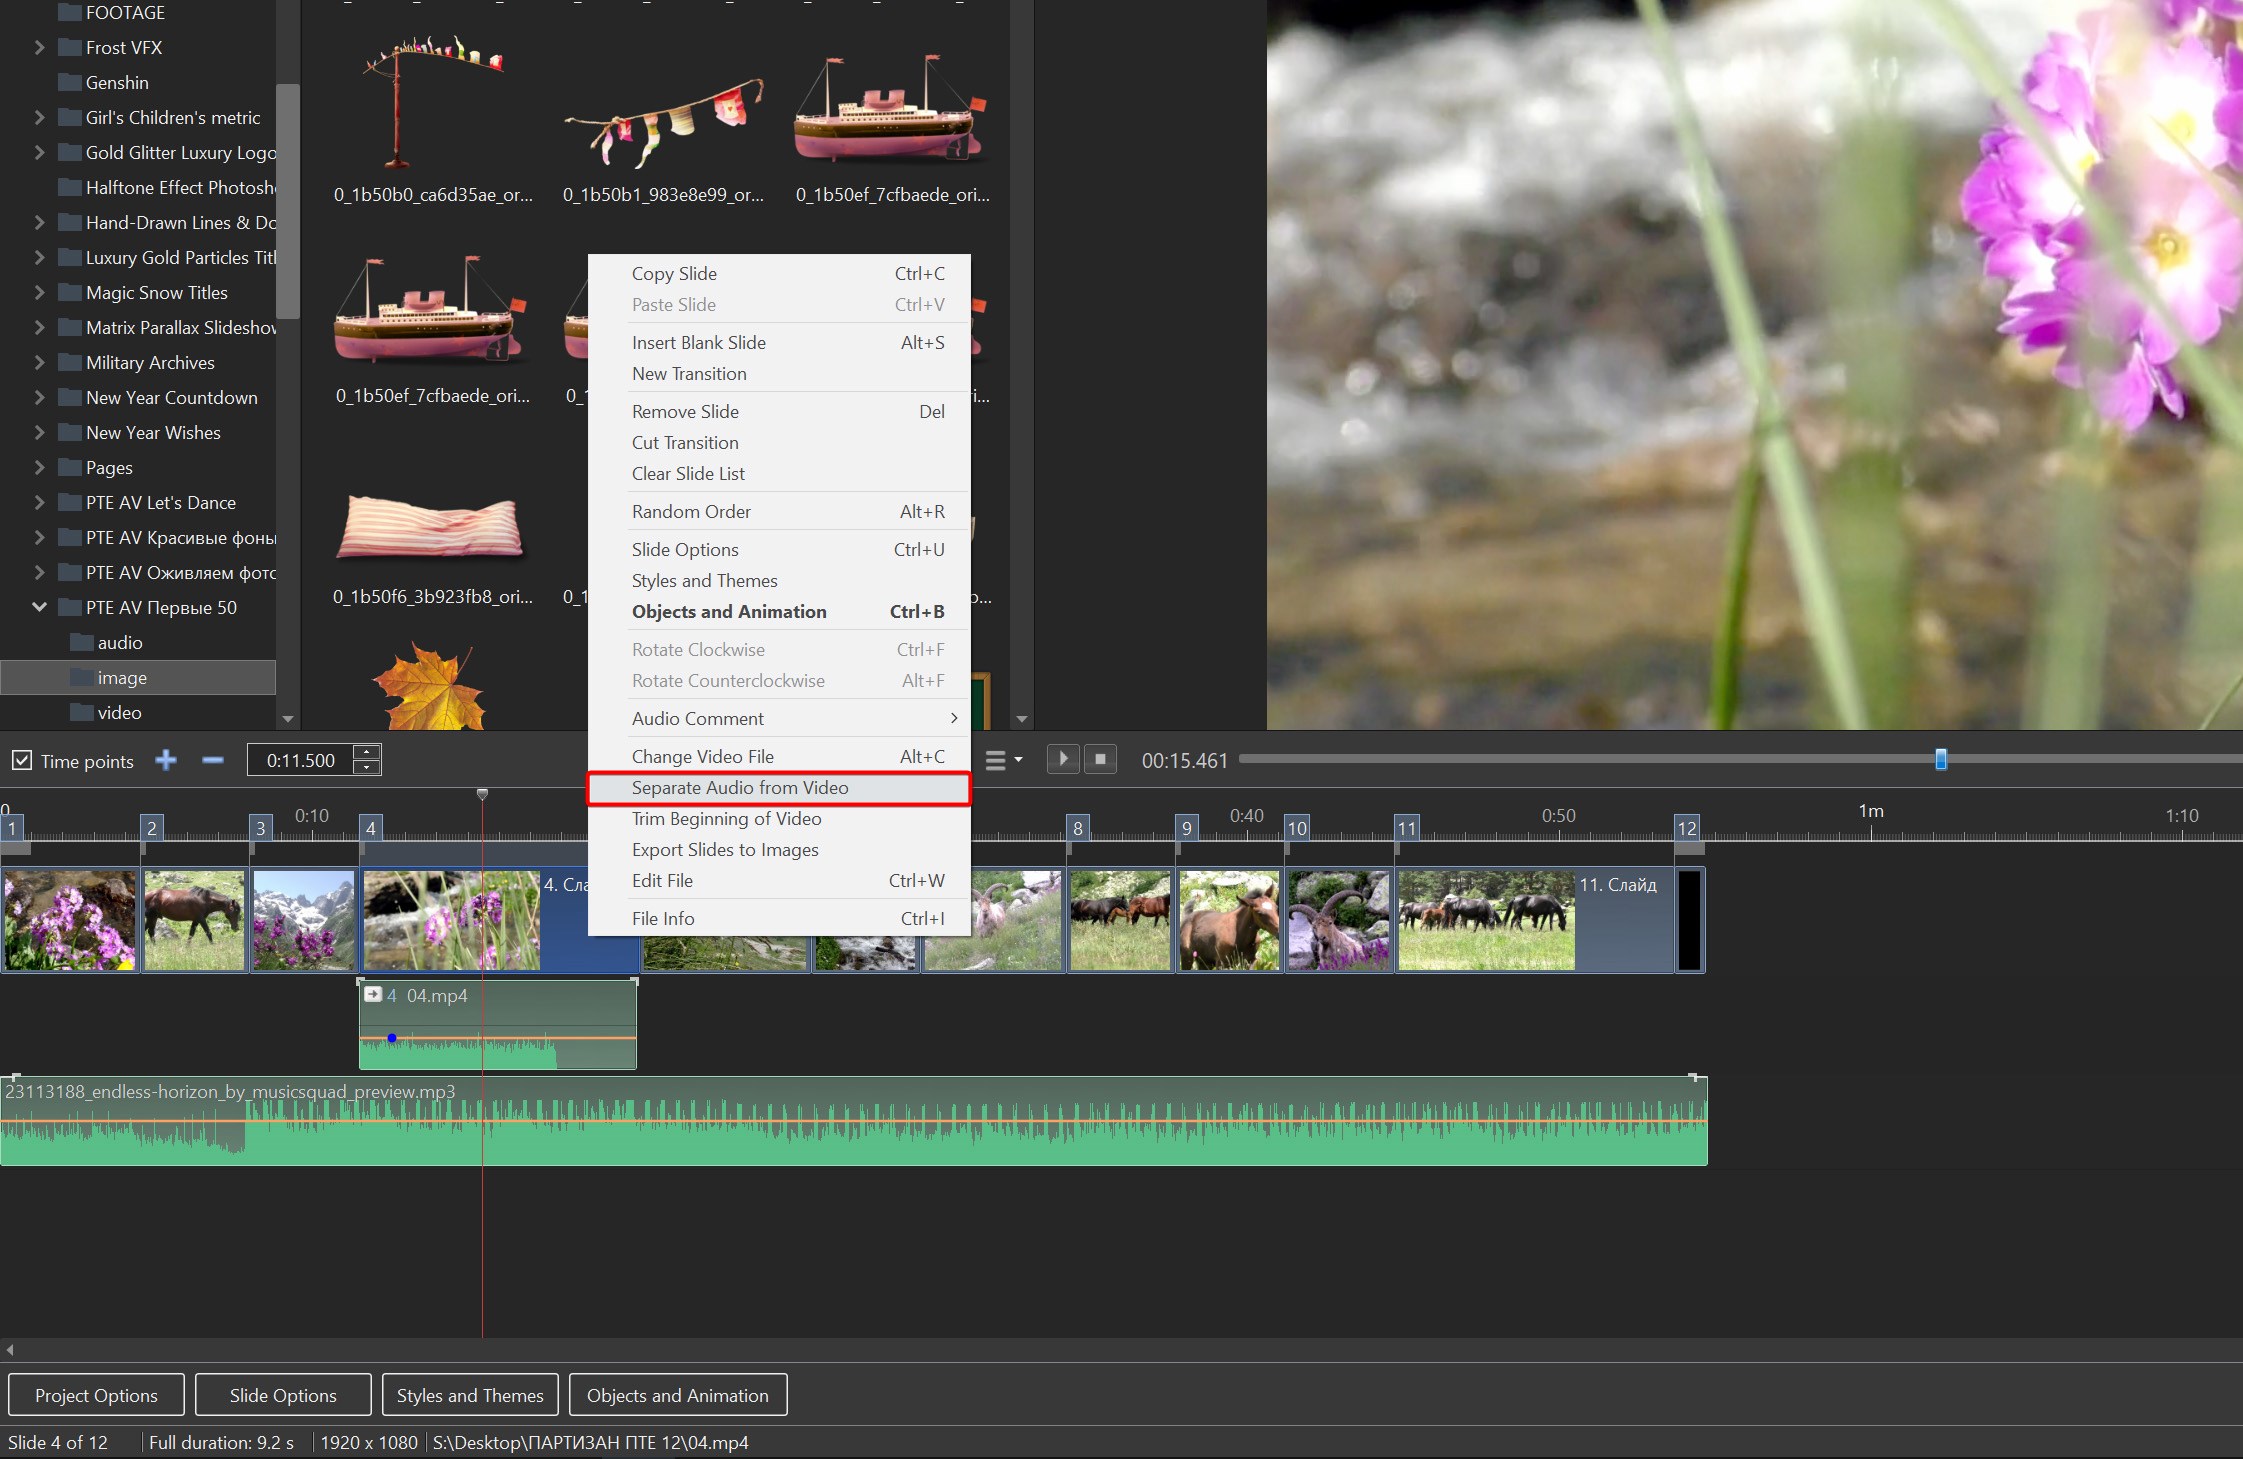
If you have interest and opportunity, check how it works with my project, please. I can only separate the audio from the video in slides 2 and 4. The rest of the slides do not. The project has 6 videos and is 105 mb in size. Maybe it's just me who has such problems. https://disk.yandex.ru/d/twCXjHp694fBIQ Jill, thank you for wanting to help! But in the 2nd picture, the slide is also highlighted, it just looks less prominent. Of course, I always highlight the slides I work with. Maybe the software doesn't interpret those slides as containing video.
-
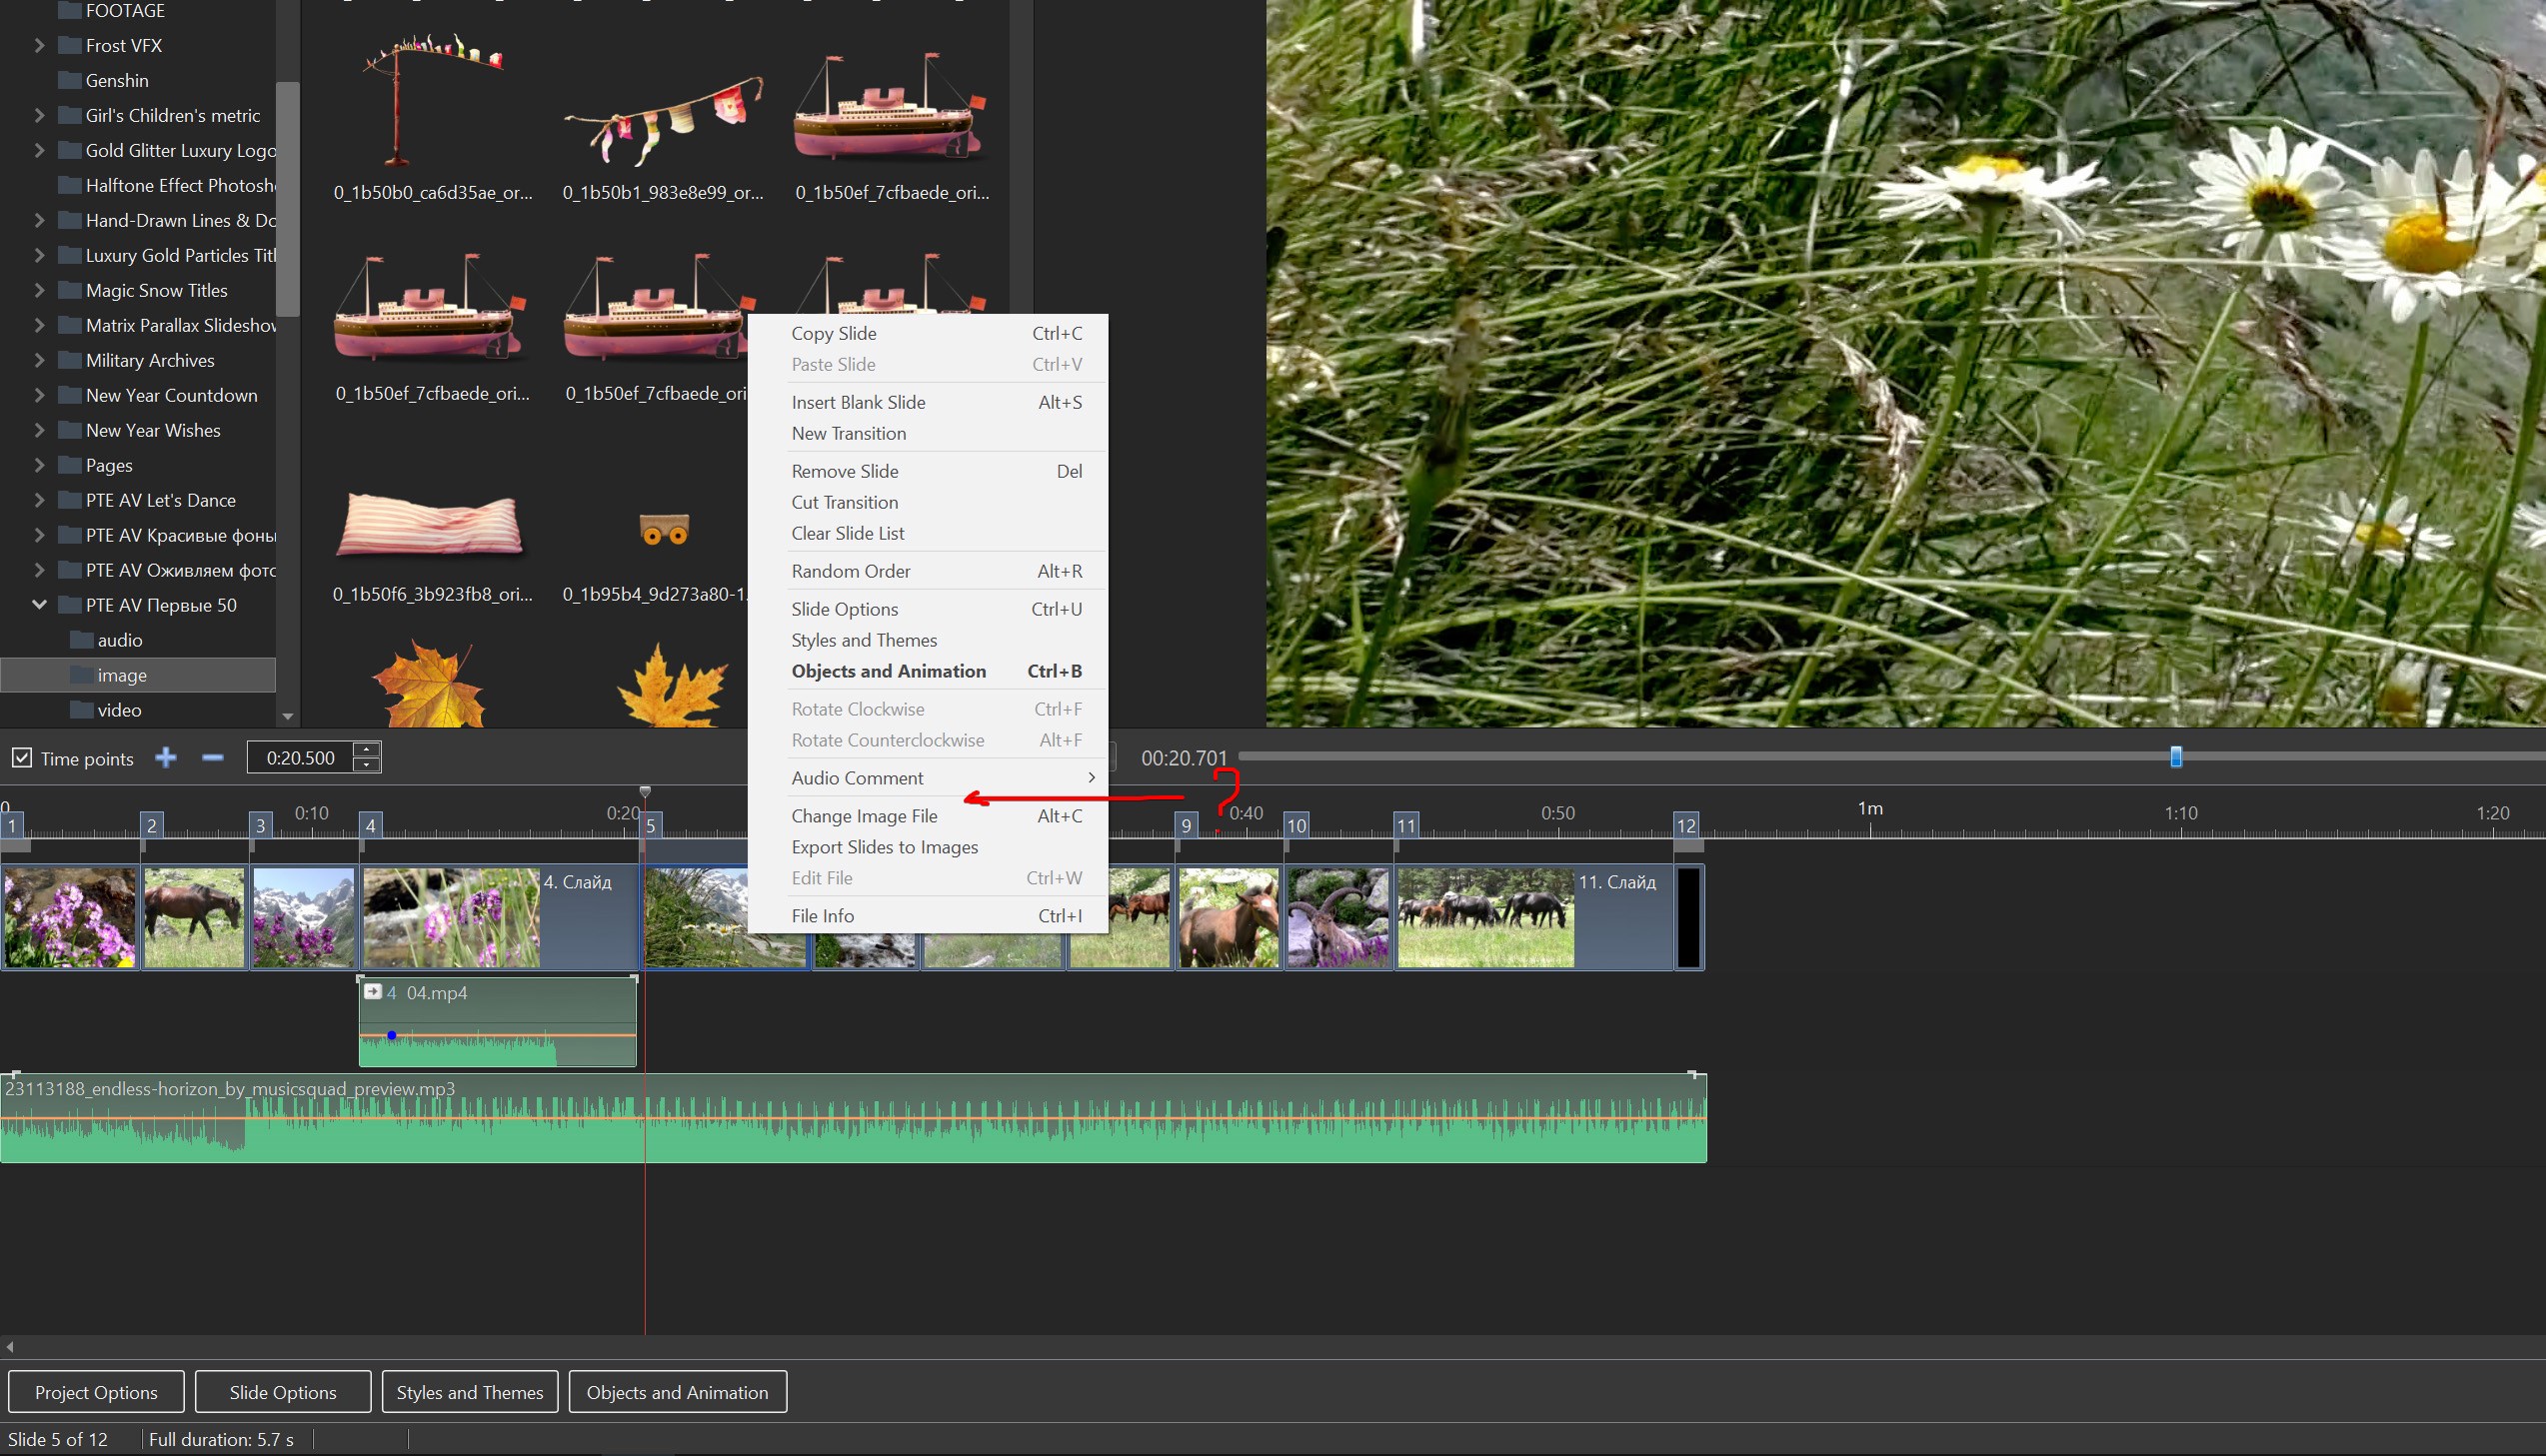
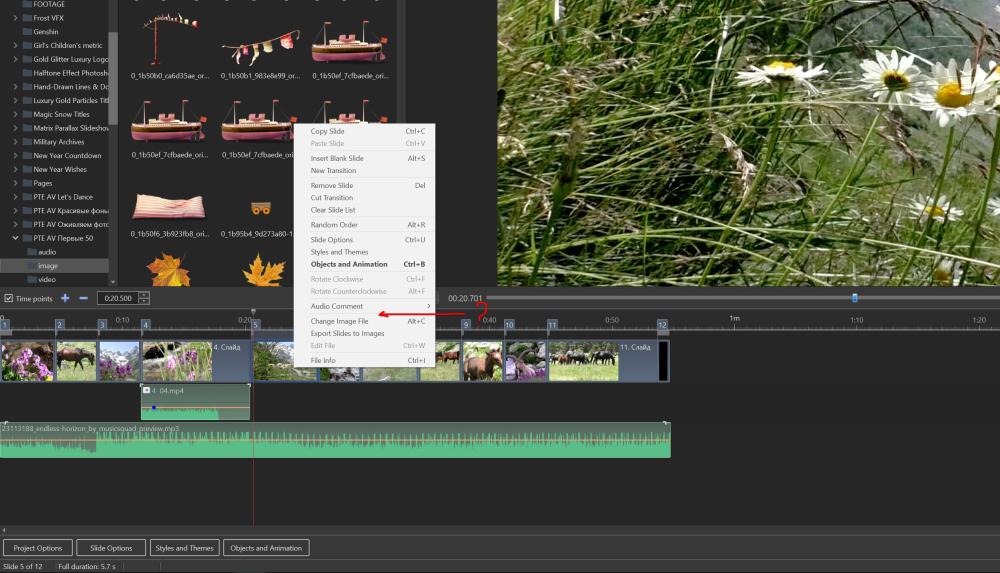
I work with MP4 files. Today I tried MOV and the result is similar. Yes, I am in the Timeline area and the video is highlighted. That's the thing, this menu doesn't always appear. And I don't understand the pattern. At first I thought it might be because I was editing the duration of the video, changing the starting point. But this idea of mine has not been confirmed either. For example, in the project I have on the screenshot, this menu appears in only 2 videos out of 11. And the same situation was in the 10.5 version of the program. At first I thought it was my mistake and I was doing something wrong. But so far I haven't found any logic. I am inclined to think that it may be a bug.

-
I have a question that I can't understand. Maybe you can tell me the answer. I often use video with sound in my work. There is only video in the slide and nothing else. If you select a slide In timeline mode and right click on it, we can see a menu. So, when selecting some slides I can see the option to "separate the sound from the video", and in most cases this option does not appear in the menu. I still can't figure out what's wrong. I would like to be able to always separate the audio track from the video so that I can conveniently edit the volume.