davegee
-
Posts
9,373 -
Joined
-
Days Won
61
Everything posted by davegee
-
Very little has changed in this area since I did the original Style. I still think that the best way forward is the way that I did it i.e. Photoshop. DG
-
Rosemary, I believe that this was something that I developed and Lin modified. The Text, in this case, is made in Photoshop and introduced into the Mask in PTE. It might even have been before it was possible to introduce video into the mask! It is not difficult and with the ability to use Video would be more realistic. I will have a quick search to see if I still have it. DG P.S. Here is my original Style...it can be probably be done more easily now. Text - See Through.ptestyle P.P.S Try this, change the "Video or Image" element in O&A for your own choice. To move etc (the whole thing) use the FRAME. Mount Etna.ptestyle
-
Works for me in Versions 11/12 https://www.wnsoft.com/en/blog/royalty-free-music/ https://www.pteavstudio.com/forums/topic/18786-free-music-sfx-resource-over-2000-tracks/ DG
-
Do you mean downloaded Styles? DG
-
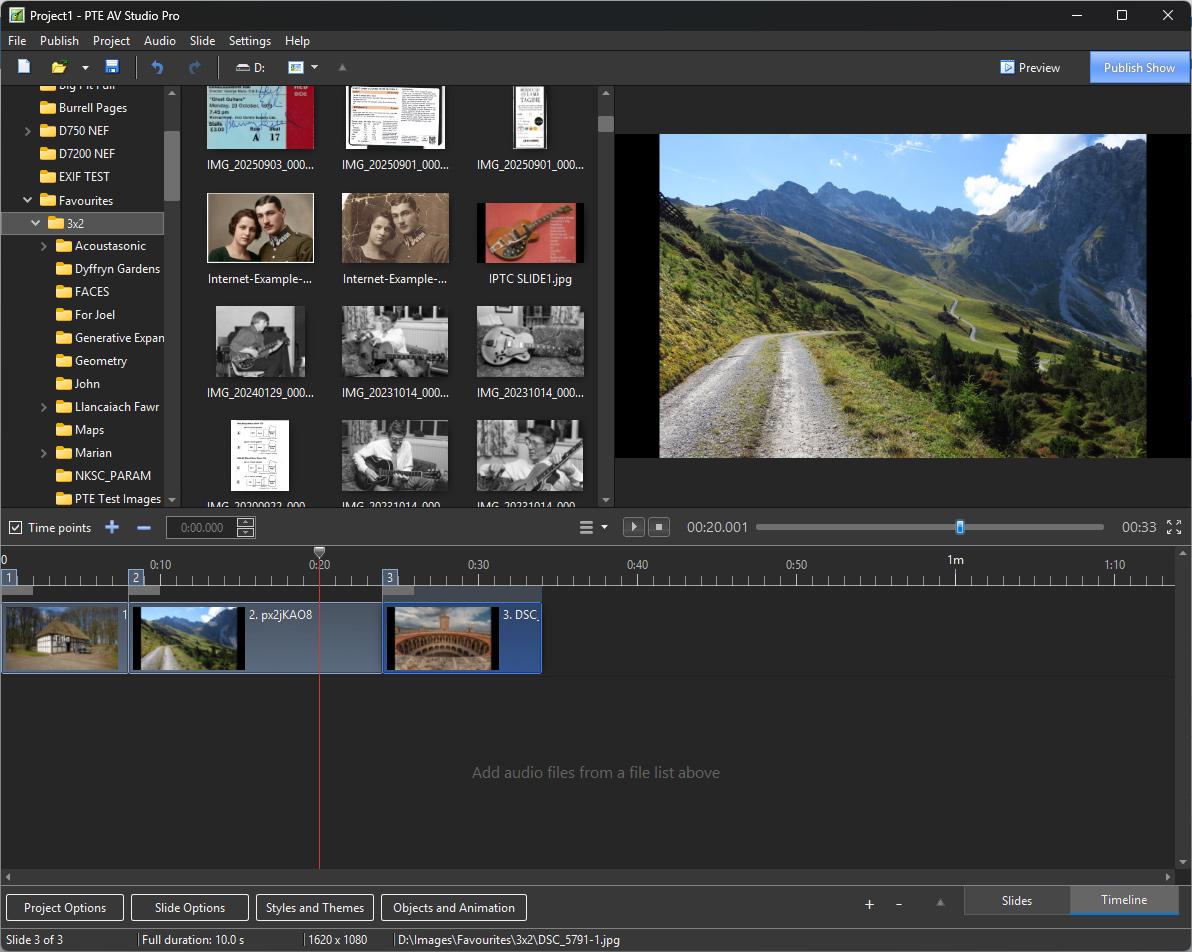
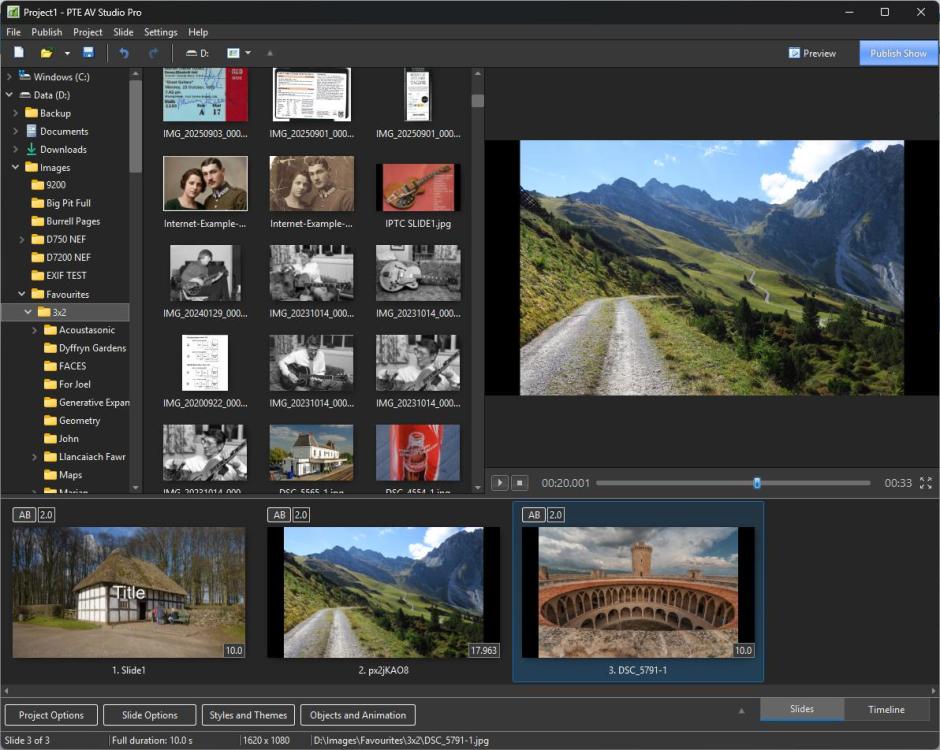
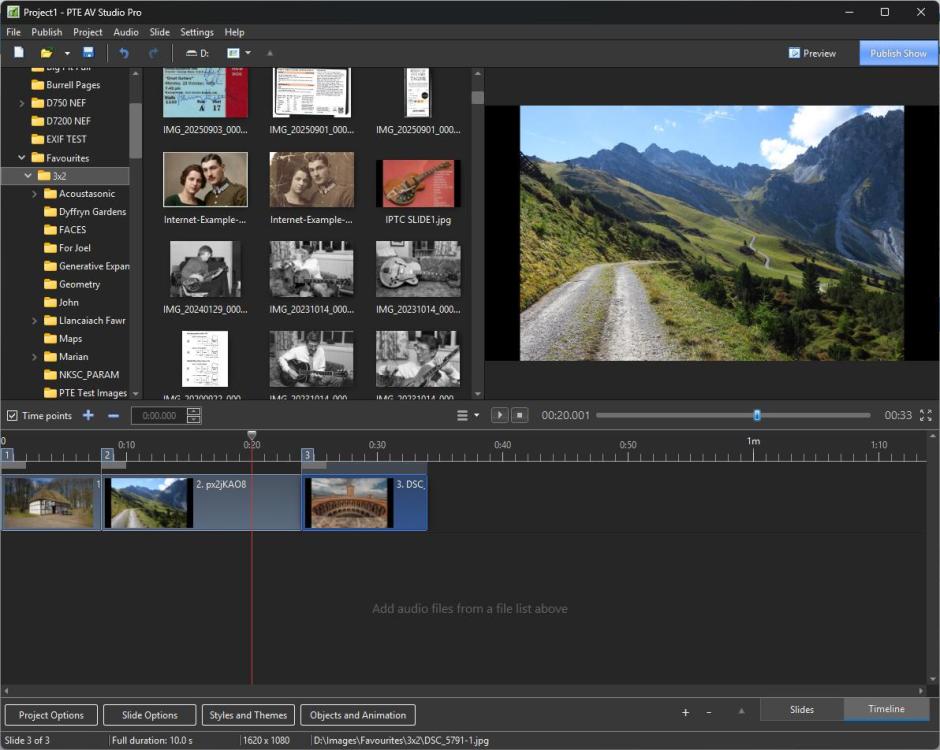
This is the SLIDE LIST This is the TIMELINE DG
-
Barry Beckham's Method might be worth a try? In the Timeline, Click on the Time Line Options and Cut all Transitions (from the second slide to the last). This will send all of your slides to the end of the music track. Play around with a copy of your project. Play the Project while still in the Timeline View and at the appropriate moment relative to the music, press the INSERT BUTTON on the Keyboard. This will place your Slide/Transition at the exact point that you want it. Carry on until all slides have been placed. It takes a little practice but once you get properly acquainted with it you will find it to be quite useful. DG
-
Have you investigated STYLES? You can create a series of styles based on your needs and if a new combination occurs, create a Style from it. The only thing to remember about Styles is that they are not cumulative.I Templates are another option. A couple of examples of what you need would help. DG
-
You will have to ask Igor. It is not a straight forward TIFF. It has transparency. DG
-
Try converting the TIF to a PNG - it works then. DG
-
Examples for analysis: Example 1.ptestyle Example 2.ptestyle DG
-
Give the Main (Foreground) Image "Main Image - Index 1". Create/Add a "Splitter for Background Image". Add your BG image to the Splitter and leave its Main Image Index blank. Create the Style. You only add a Main Image to the Slide List to apply the Style to - the BG image is contained within the Style. If you want to add a blurred copy of the Main Image as a BG then you can Copy and Paste the Main image to the Splitter complete with its Main Image Index 1 DG
-
SoCu, This Style works OK with Version 11. Original Post is here: https://www.pteavstudio.com/forums/topic/20848-confetti/#comment-138292 Possibly Igor can throw some light on this?? DG
-
Post a single slide Template/BIZ so that someone can take a look for you? DG
-
Try loading the Sample Project from HELP. Publish at the same settings - will that publish OK? If so, start looking at the content of your project. How many slides, Images, Videos etc. DG
-
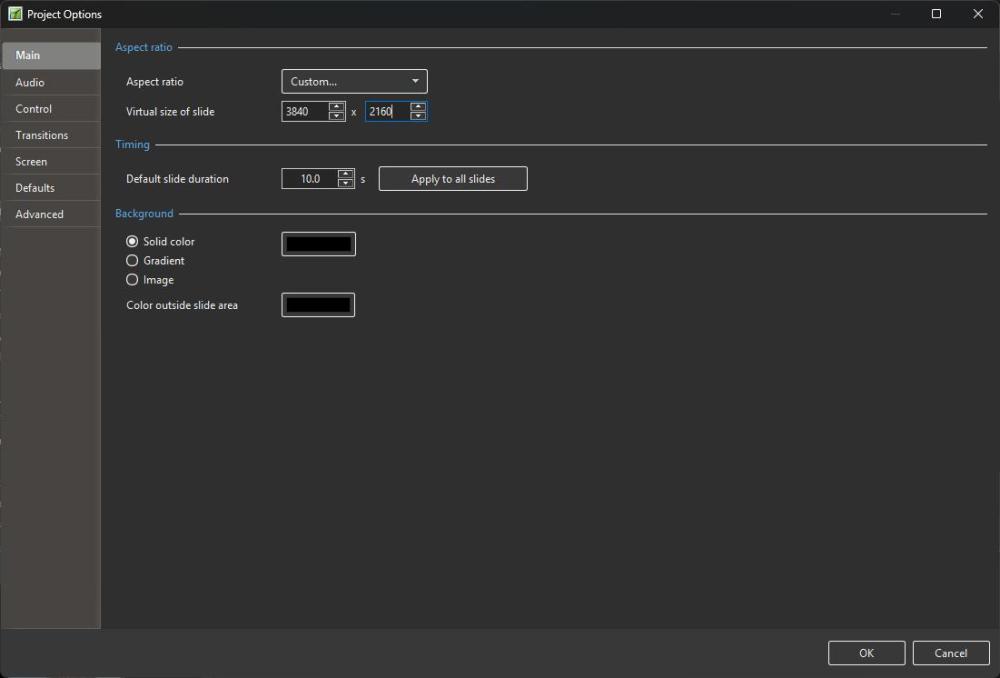
Are you looking at the Version 12 OH? Look at Project Options / Main. You cannot search for a string inside of a Screen Shot, so I have just added it as a text string - my bad. https://docs.pteavstudio.com/en-us/12.0/project_settings_1/project It matters if you are creating 4K video and you want to set "Actual Pixels" from a full size jpeg especially inside of the Framing Option. I use the Framing option almost exclusively. DG
-
I asked Google "In pictures to exe what is Virtual Size of Slide?" The answer was: In PTE AV Studio / PicturesToExe, the Virtual Size of Slide is the baseline pixel dimension (width and height) used as a reference canvas for positioning, scaling, and animating objects in the Objects and Animation window. Key Details Coordinate System: It defines the internal coordinate grid (for example, 1920 x 1080 for a standard 16:9 Full HD layout). Percentages and pixel values for pan, zoom, and keyframe placements are calculated relative to this virtual canvas. Aspect Ratio Control: Changing the virtual size helps enforce a specific aspect ratio (like 16:9 or 4:3) for your project workspace. Independent of Source Images: Your source photos can be much larger (e.g., 4K or original camera resolution) or smaller; the virtual size simply acts as the design and layout resolution for the screen framework. [1] Best Practice: Set the virtual size to match your intended output or display resolution—such as 1920 x 1080 for HD screens and TVs. If your Intended Output is a 4K MP4 then the Virtual Size of slide should be set to Custom - 3840x2160 (4K).
-
OK now, but it was offline from about 21.00 gmt until around 10.00 this morning. Thanks Igor. DG
-
number of characters of acceptable size
davegee replied to HUBERT BORDAT's topic in General Discussion
The ZOOM control will determine the height of your Text Box. You can also drag the corners of the Text Box to make it bigger or smaller. You determine the width of a string of text by pressing ENTER thus creating multiple lines of text. The only other controls that you might need are the Justification controls - Alignment, Line Spacing etc For TITLES and SUB-TITLES use separate Text Boxes of differing ZOOM sizes. DG -
PTE AV Studio 12 transferring styles and transitions [SOLVED]
davegee replied to Rosemary A's topic in General Discussion
Here are my V11 and V12 screen grabs. Perhaps we ought to get Igor involved? I assume that you are on a PC? V12 V11

-
PTE AV Studio 12 transferring styles and transitions [SOLVED]
davegee replied to Rosemary A's topic in General Discussion
That should happen automatically. Go to Settings/Templates/Folder for Custom Slide Styles etc and make sure that they are the same for both V11 and V12. You might have changed the default at some stage. DG -
10 Free PTE AV Studio Transitions - Mesh Transitions
davegee replied to Bad Dancer's topic in Styles & Templates
They are transitions - not styles? DG -
Have you tried the keyframe navigation arrows? https://docs.pteavstudio.com/en-us/12.0/objectsandanimation_1/managing_key_frames#navigate_key_frames DG
-
Wait for Keypress gives confusing results [SOLVED]
davegee replied to Mike-PDX's topic in Troubleshooting
Thank you, I will rectify that. DG -
Wait for Keypress gives confusing results [SOLVED]
davegee replied to Mike-PDX's topic in Troubleshooting
This feature is for Executables only. Not for mp4 video. DG -
The Online Help for Version 12 has been updated in line with the "What's New in Version 12" posted by Igor: https://docs.pteavstudio.com/en-us/12.0/v12_wn/main Links have been added to each paragraph as appropriate. There is obviously more work to do but the OH is an ongoing and evolving document and if anyone wishes to contribute it will be hugely appreciated by the PTE community. "How to" articles are largely driven by Forum Posts for which there is no obvious answer in the OH and these will continue to be added when they arise. DG