davegee
-
Posts
9,294 -
Joined
-
Days Won
56
Everything posted by davegee
-
Here's a different approach to Strips which does not use Masks. Please excuse the Background Add two 16:9 images to a 16:9 project and apply the Horizontal or Vertical version. Strips.ptestyle DG
-
Add a Blank 16:9 Slide to a Project and Apply this Style. Analyse the Strips 1-4 in O&A. Strips Tute.ptestyle DG
-
Add a Mask Object [PTE AV Studio] DG
-
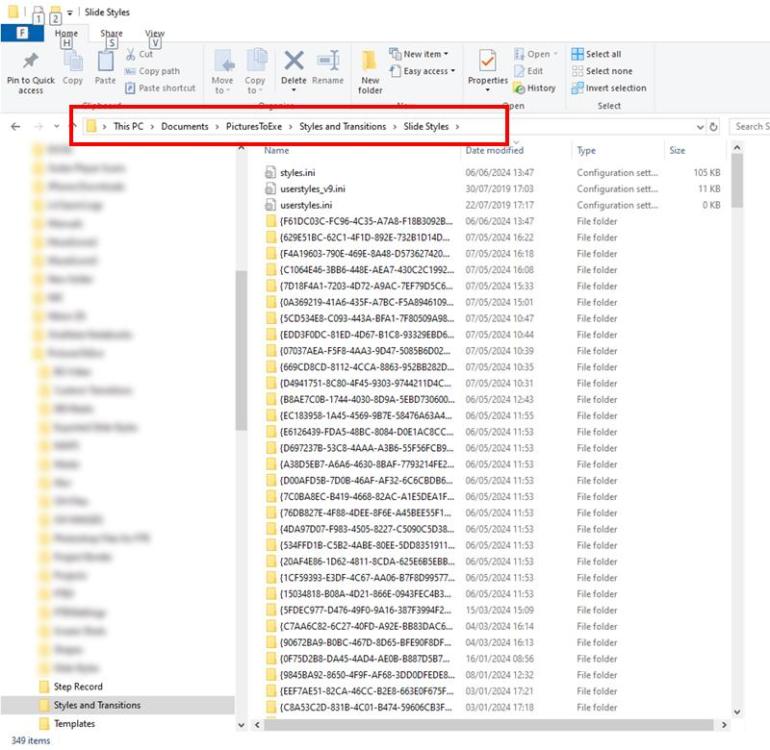
Rosemary, When you created your backup of Styles Folders did you include the styles.ini file as shown below? Without it your backup is useless. DG

-
I tried the experiment described above and at first failed to see the newly created Style. Then I noticed that as well as creating the folder in Styles and Transitions the Styles.ini file had also been written to. I transferred the Styles.ini to the Laptop Styles and Transitions /Styles folder and the new Style was immediately recognised on the Laptop. So, if you create a Backup of your Styles folders you need to include everything. DG
-
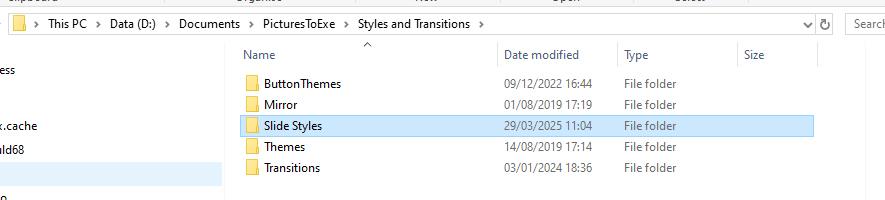
Yesterday, I copied the Styles and Transitions folder on my Desktop PC to a portable SSD and transferred it to the correct location on my new Laptop PC. I now have identical Styles and Transitions on both PCs. Around 400mb and it took literally minutes. I will create a simple Style on my Desktop PC today and locate its folder. It should be easy enough to locate by date. I will then transfer the individual folder to my Laptop and see what happens. DG
-
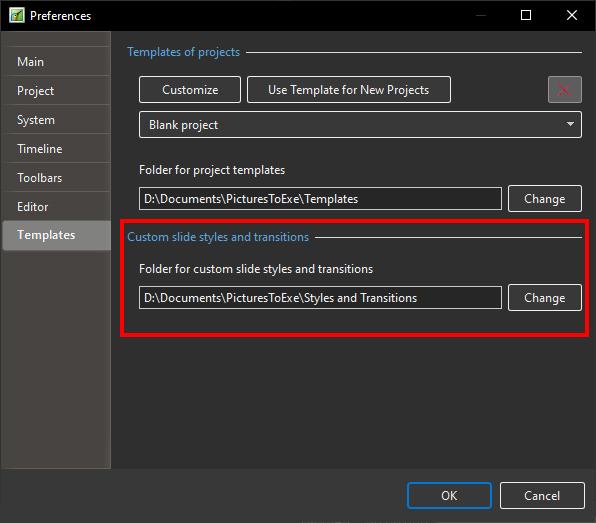
Are you running PTE10 and PTE11? Check that the Location in Settings/Preferences/Custom Slide Styles and Transitions is IDENTICAL.
-
Rosemary, Is it possible that the "excellent advice" that you were given referred to storing the .ptestyle files in a separate folder? DG
-
Further thoughts. If, as in my case, you are transferring Styles from a Desktop PC to a new Laptop PC you can use the facility to Export an individual Style or a Style category as a .ptestyle file and Import that Style on the new PC. Right click on either the individual Style or the Style Category to Export. All of this information is available here: Slide Styles [PTE AV Studio] DG
-
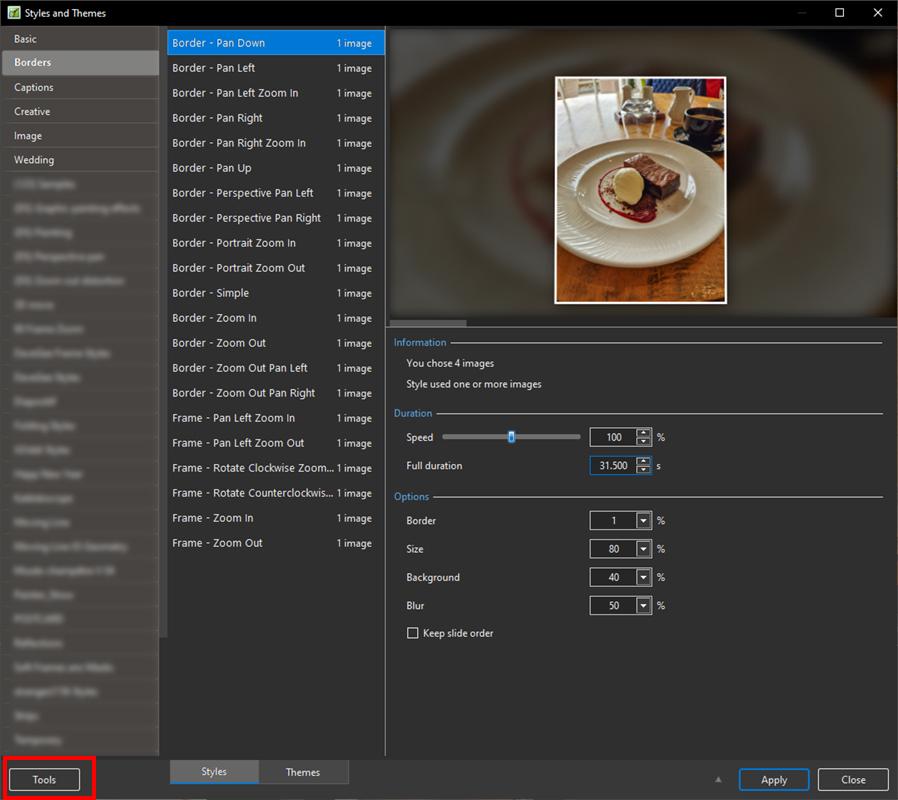
If you go to Settings / Preferences / Templates you will see where they SHOULD be. It is either the PTE Default Folder or a folder that you have previously designated. If you navigate to that folder it should look like the one below. If, for some reason, they are not in this location, then transferring them to this location "should" sort it out. Once in the correct location you will see their titles in Styles and Themes. Editing the Styles i.e deleting etc, can be done in Tools.

-
Just to elaborate a little on both the above replies. If you set Centre X to -100 and Pan X to -100% then your image will rotate about its left hand side by changing the value of Rotate Y. DG
-
Mark, It would help if you illustrated your problem with a screen shot. DG
-
First, which version of PTE are you running? Post some details of your system. Windows 11? Have you restarted Windows? Ram / Graphics card? DG
-

I sit possible to change the default zoom for text
davegee replied to Anthraquinone's topic in General Discussion
Set the text parameters as you want them in the first slide. Copy the text box in the first slide and then paste it to the slides on which you want text. Change the content to suit. If your Main Image is titled correctly you could automatically add a text comment configured to suit. https://docs.pteavstudio.com/en-us/11.0/how_to_v10/addexif?s[]=text&s[]=comment DG -
Hi Ray, As long as you don't use the software on more than two machines AT THE SAME TIME you will be OK. DG
-
Dirk, Please take note of the dates of the threads to which you are replying? DG
-
The Complete list of Hotkeys/Shortcuts is here: https://docs.pteavstudio.com/en-us/11.0/hotkeys/main If you have a specific request please use "Suggestions for next Versions". DG
-
When you add the Text Object in Objects and Animation make sure that nothing else is selected in the Objects list i.e. Click in an empty space before adding the Text Object. DG
-
Because you will be working in Objects and Animation, maybe "Text Object" is a more appropriate description. You could copy and paste the whole slide as you described or go into O&A and copy the Text Object from slide to slide on top of other objects. DG
-
Add your text/animation to a Frame in the correct position and copy/paste the Frame. Change the Text as required. DG
-
https://docs.pteavstudio.com/en-us/11.0/how_to_v11/templates DG
-
One way would be to type the two (?) Columns separately (left justification) and line them up as children of a frame. Use the same Zoom settings for both.I Alternatively use right justification for the left column and left justification for the right column. DG
-
Thanks Kieron. Maybe, some time in the future, if I have enough. DG
-
Thanks Bert, that is a valid point. DG
-
Thanks! DG