-
Posts
8,206 -
Joined
-
Last visited
-
Days Won
12
Everything posted by Lin Evans
-

Styles-many errors and removes files from File List
Lin Evans replied to goddi's topic in Troubleshooting
Hi Gary, Could you explain what you mean by a "95%" image? The style(s) are designed for either a 16:9 or a 3:2 aspect ratio image. It doesn't matter the size of the image as long as the aspect ratio is correct. I'm unclear on what you mean by a 95% image? 95% of what? Do you mean you set the zoom to 95% in Objects and Animations then go back to the slide view and apply the style? That really should not make any difference, but my style allows you to leave the zoom in Objects and Animations at 100%, apply the style then use the Master Control Frame to change the zoom to 95% or any other value. If the program crashes when you apply the style to an image you have previously zoomed to 95% it must be a Win 10 issue of some type. It doesn't do that with my Win XP or Win 8.1. I don't have any system with Win 10 so can't test it. Perhaps someone else can test it with Win 10 and see if they have the same result... Best regards, Lin -

Basic Template Masking With PTE 9
Lin Evans replied to Lin Evans's topic in Tutorials & Video Lessons
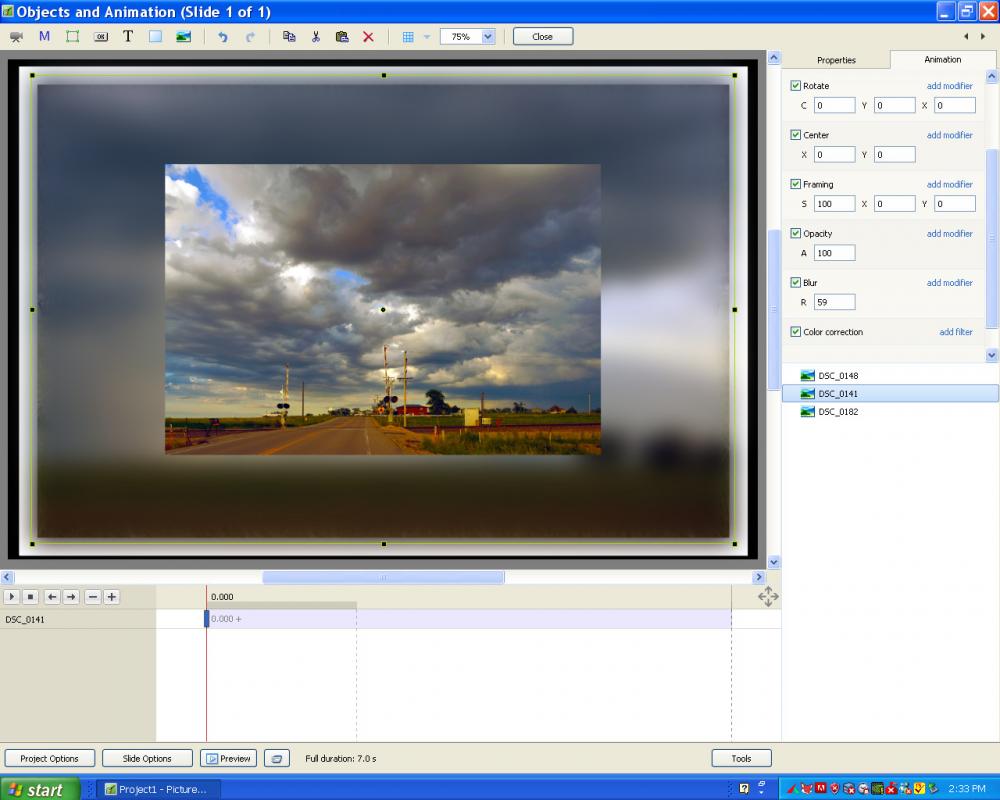
How do you control both the small rectangular file and the background image size and position simultaneously? That the purpose of the Master Control Frame in my style. The second control frame lets you control the size and position of the inner image and border simultaneously independent of the background. Then you can also rotate the image within the smaller frame without changing the rotation of the border. How do you do that with the three element style? I thought that's what you wanted to do in the first place? Best regards, Lin- 14 replies
-
- mask
- border within border
-
(and 1 more)
Tagged with:
-

Styles-many errors and removes files from File List
Lin Evans replied to goddi's topic in Troubleshooting
Hi Gary, If you just use a video then create the style it will work fine but you have to change the file anyway unless you always want the same video playing. I have no idea why any style would clear the file list - that is strange. It doesn't do that in either my Win XP or Win 8.1 system. Best regards, Lin -

Styles-many errors and removes files from File List
Lin Evans replied to goddi's topic in Troubleshooting
Hi Gary, Probably the reason for the problem you are having is that there is a totally different process in PTE between adding an image and adding a video. You can't create a slidestyle which allows either, it has to be created for a video if you are going to add a video. When you right click in the Objects window to get your menu, you have choices of adding an image, button, rectangle, text or hyperlink, frame, video or mask. When you click on one of these choices PTE goes to that section of code and the code is quite different for adding a video and adding an image. You will certainly get all types of errors if you attempt to use a style designed for still images to add video. Bests regards, Lin Later - I stand corrected on this - I just reworked my border styles and they DO work with video so my assumption is not correct, at least not for this particular type style.... -

Basic Template Masking With PTE 9
Lin Evans replied to Lin Evans's topic in Tutorials & Video Lessons
Hi Gary, You said you wanted to be able to rotate the image within the small frame. How do you accomplish this with your style? It appears to rotate the frame and the image within? How do you adjust both windows and frames simultaneously? That's the reason for the mask as well as for the two control frames. I'm not certain what's going on with your problems, perhaps when Igor get's back he can help. I don't have any errors at all on my own system with the style. The style I created is not for video but for still images. It uses the same image for the blurred background as for the inside image. Making one for a video would require two different objects (the still image for the background and a video for the inner frame). Now if you're trying to add a video rather than a still image to either your style or mine, that's not going to work. You must create the style for adding a video. You can't just add a video to a style designed for a still image, the style itself must be constructed for a video. Best regards, Lin- 14 replies
-
- mask
- border within border
-
(and 1 more)
Tagged with:
-
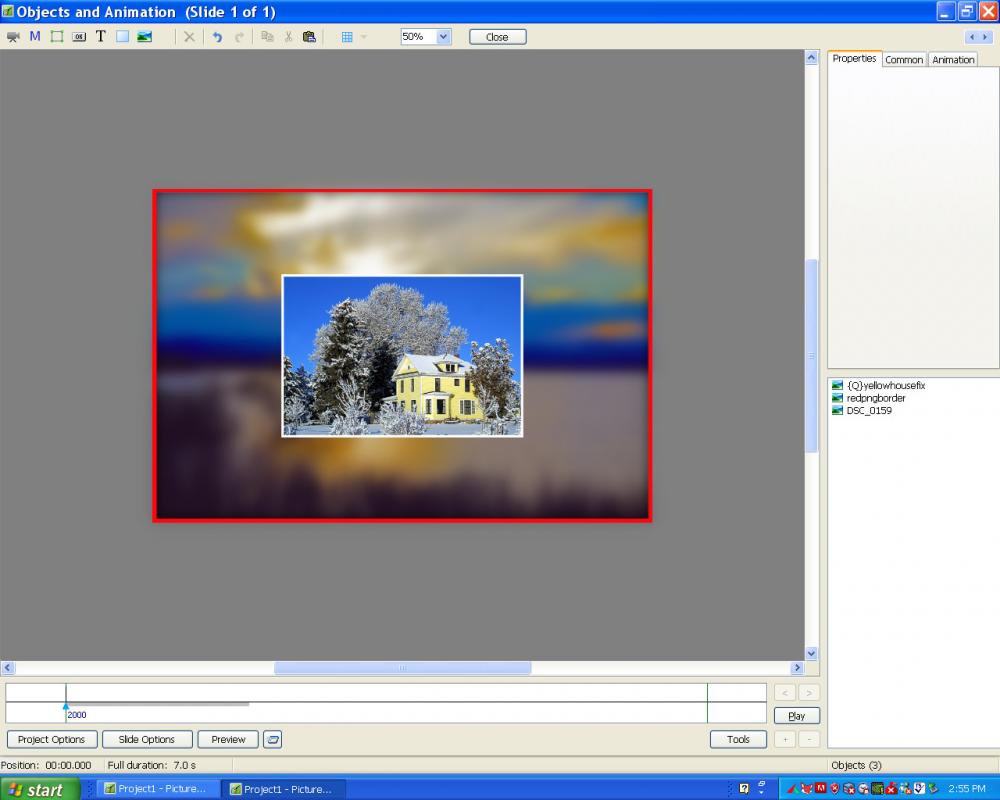
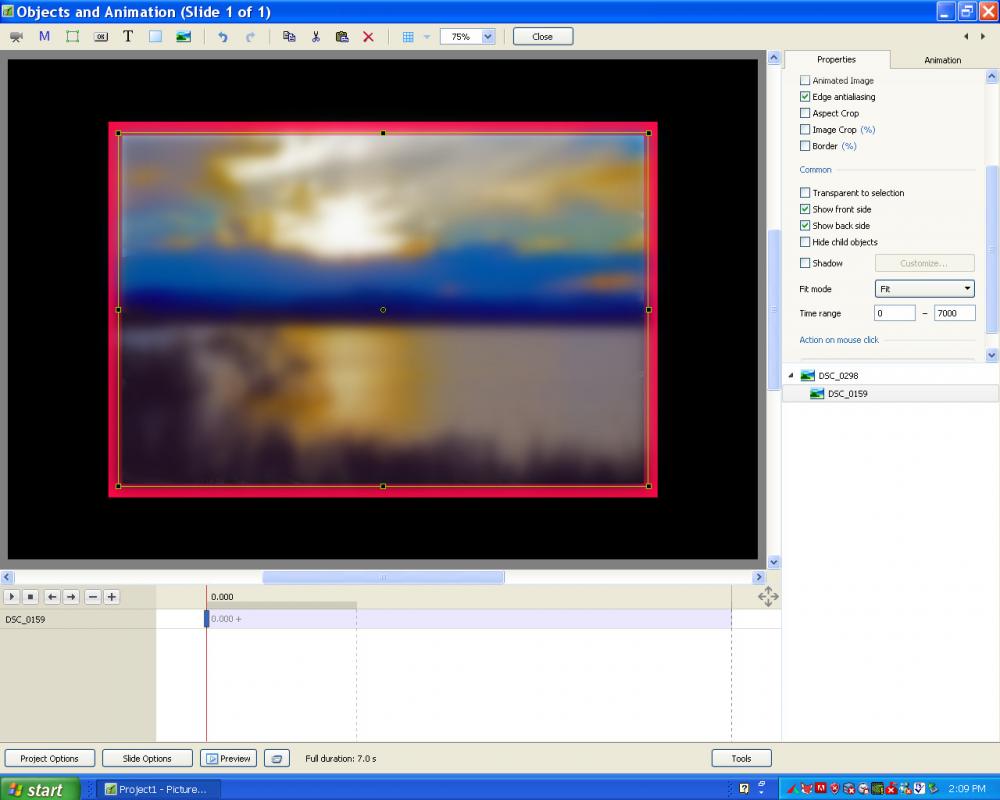
Fully adjustable PTE styles which can be applied to one or more images to create a blurred background image surrounded by a border with that same image inside the background also surrounded by a border in 16:9 or 3:2 aspect ratio. Dual controlling frames - one to control the size and position of the complete composition and the other to control the internal image size and position. The default red borders are fully adjustable for color, etc. These styles work for still images or video... Lin Lin's 3_2 Border Window Style.ptestyle Lin's 16_9 Border Window Style.ptestyle
-

Basic Template Masking With PTE 9
Lin Evans replied to Lin Evans's topic in Tutorials & Video Lessons
Here is my latest 16:9 border style which allows complete control. There is a master frame to allow the type of control shown in the video tutorial and also a sub frame to control the inner image and inner border. The color of the borders is easily adjustable as well. Lin Lin's Border Style For 16_9 Aspect Size.ptestyle- 14 replies
-
- mask
- border within border
-
(and 1 more)
Tagged with:
-

Basic Template Masking With PTE 9
Lin Evans replied to Lin Evans's topic in Tutorials & Video Lessons
Hi Gary, Masks allow constraining the area in which an object is viewed but also much, much more than this. Within that area objects can be manipulated with pan, zoom, rotate, transform, opacity, color, negative, saturation, levels, etc., etc., just as they can be as full screen filling objects. The ability to reveal and conceal with masking is virtually unlimited and by creating custom masks in your favorite photo editor and applying them in PTE literally thousands of special effects can easily be accomplished. Of course it's always best to correct horizons, etc., on the master image. Masking is not a substitute for proper photographic processing, and it's certainly not designed to correct the perspective or tilted horizons of your images even though it can be used in conjunction with other PTE features to do some of these things. PTE is a master tool box which can be used in many ways. A competent carpenter doesn't build a house with only a framing hammer and a saw even though it might be possible to do so. The carpenter uses the framing hammer to pound large nails, the tack hammer to place tacks and finishing nails, the chisel, sander, square, level, drill, bits of multiple sizes and types, paint brush, trowel, putty knife and whatever other specialized tools which might be in his extensive tool box. PTE is the tool box and a wise user who wants to create a beautiful product will learn to use the tools it offers. Masking is a powerful tool which is not difficult to use. I got out my stopwatch to see just how long it actually takes to create the little demonstration slide I used in the video tutorial, seriously. It took precisely 2 minutes and 40 seconds then if a style were desired to instantly apply to any number of images, another 20 seconds. Best regards, Lin- 14 replies
-
- mask
- border within border
-
(and 1 more)
Tagged with:
-
Gary, here is the tutorial on how to do this with a mask...
- 14 replies
-
- mask
- border within border
-
(and 1 more)
Tagged with:
-
O.K., Tomorrow I'll make and post a video showing how to use a mask to do this... Best regards, Lin
-
Hi Gary, It's a very easy task with a mask. You really should learn masking because it's a major feature with PTE. Let me know if you want a tutorial on using masking to do this, you can create one example then create a style just like you did with the frame and once that's done, as you can see, it's very easy to rotate the image within the mask. Also note that the frames can be any color and be changed via keyframes and color features on the fly if you like. PTE 9 is very powerful and even though masking may at first seem difficult, it's really very easy to use and an extremely powerful feature with PTE. Framing makes it easy to zoom in and out within the frame, but seriously, it's just as easy to use a mask and even more versatile as you can see. Best resgards, Lin
-
Like this??? Lin
-
Hi Craig, Actually, all objects have a starting keyframe. To fade in the zebra you need to click on the zebra object to select it in Objects and Animations, then in the Animations tab, put a check mark in the box beside "Opacity" and set the value to zero. Next add another keyframe where you want the zebra to begin to fade in and also place a check mark in the box beside Opacity and set this value also to zero. Create a third keyframe where you want the fade in to be completed also with a checkmark in the box beside Opacity and set this value to 100%. Run the preview and it should work as you wish. Perhaps what is confusing you is that you have not used the feature to show all keyframes for all objects simultaneously on separate timelines. Hold down the CTRL key and click on both your objects and the timeline will appear for each object with it's one keyframes and timeline. Best regards, Lin
-
Good job Dave - Perfect for helping users sort the purpose of what could otherwise be confusing features. Lin
-

Keep 'Border' of image with 'Blur'? [SOLVED]
Lin Evans replied to goddi's topic in General Discussion
Yes, you're correct - Main Object rather than Master Image - Sometimes I forget what they are called without looking... Best regards, Lin -

Keep 'Border' of image with 'Blur'? [SOLVED]
Lin Evans replied to goddi's topic in General Discussion
Gary, Select one of the images in the Objects list in Objects and Animations. Click on Properties Tab, Where it says "Picture" (below Name at the top right of your screen) click on the little down arrow in the small blue box, navigate to the image you want to use to replace it with, select and click on "Open" If you had marked the two images as Master images one and two before creating the style, you would not have to replace them with a different image. The images would be reflected in the style and your new image automatically inserted.. Lin -

Keep 'Border' of image with 'Blur'? [SOLVED]
Lin Evans replied to goddi's topic in General Discussion
Here's the zipped video tutorial: http://www.lin-evans.org/gary/makepngborder.zip Here's the 16:9 red png border created as seen in the video: Lin -

Keep 'Border' of image with 'Blur'? [SOLVED]
Lin Evans replied to goddi's topic in General Discussion
Gary, you just make three PNG borders. The one I gave you is 3:2. Make one at 16:9 and one at 4:3 in Photoshop. Put them in a folder and use them over and again. You can change the color to any color of the rainbow with PTE 9. The one with the white border is incredibly easy. Take an image - any image of the same aspect ratio of the one you are using for your background. Put it on the layer behind your background image and apply a border to it. Adjust the size of this image with the border so the border is revealed behind the blurred image. Give me a couple minutes and I'll make you a quick tutorial on how to create the PNG border in Photoshop.. Lin -

Keep 'Border' of image with 'Blur'? [SOLVED]
Lin Evans replied to goddi's topic in General Discussion
Here - a PNG border surrounding a blurred background with an image or video with a border inside..Put all three under a frame if you want to animate or manipulate them as a group without changing the dynamic between them. Best regards, Lin Here's the border: right click on it and save to use it... -

Keep 'Border' of image with 'Blur'? [SOLVED]
Lin Evans replied to goddi's topic in General Discussion
Geeze Gary, Just use PTE to make the image behind as much larger as you need. The aspect ratio stays the same and if you make a relatively large border it will extend beyond the top layer image. It's really simple. Look at my samples.. Give me a minute and I'll show you how to do it with a Photoshop PNG image. Best regards, Lin -

Keep 'Border' of image with 'Blur'? [SOLVED]
Lin Evans replied to goddi's topic in General Discussion
Hi Gary, No. What you do is take your original video and place an image with a border on the layer beneath. Make the image with the border precisely the same size as the video. The video will then hide the image but not the border. If you intend to animate the image you can make the video a child of the image. The border on the image beneath which is hidden by the video on top serves as the border for the image on top. No need for anything but PTE. If you want a very "clean" border the logical way to do it would be to go into Photoshop and create a solid color on top of a transparency. Then cut out all but a border. Save this as a PNG then you can make others of the same color in different aspect ratios. In PTE it would become another object lying over the background and the border would be knife sharp. You can change the color to any color with PTE so it doesn't matter what the original color of these borders are. The reason you can't get a perfectly clean border in PTE alone is that when you blur an object, the size increases slightly. Best regards, Lin -

Keep 'Border' of image with 'Blur'? [SOLVED]
Lin Evans replied to goddi's topic in General Discussion
Sure - Several ways. Make the border a separate object. Just duplicate your video image size with a different image and apply the border to the image behind the video. Make a PNG border which is a separate object and won't be affected by the blur. Use a complete solid color image slightly larger than you video and put it behind the video so that what remains around the edges acts as a border. Best regards, Lin -
Another work-around is if you have a different text font you want to use extensively in your show, you can use PTE 8.0 to do the text portion then load the file into PTE 9 to use any of the features not available in version 8. PTE is backwardly compatible in that you can use any PTE 8 show's file in PTE 9, but not the other way around. Best regards, Lin
-
Hi Doug, In Objects and Animations click on the Tools at the bottom right of your screen then check "Ignore Objects Not Selected" Also, in Settings, Preferences, Editor put a check by "Ignore Objects Not Selected" to make this the default for all new projects. Best regards, Lin
-
Actually it's neither. That feature sadly wouldn't work with the new software implementation and hopefully there will be a solution with the next version of PTE. The entire program was rewritten in a language compatible with both Windows and MacIntosh for the future cross-platform plans. That feature could not be implemented but developers are looking for a way to perhaps improve on the original for future versions. Best regards, Lin


